
After completing our ‘practice’ Gold Maverick expedition back in May, comprising the first two days of the Hadrian’s Wall path, we planned our ‘main’ expedition for July. As luck would have it, this week was also super hot. With hindsight this was probably better than cold and rain – trudging up and down hills in the mud would not have been fun – but at the time I cursed the sun repeatedly.
Day 0: Chollerford to Greencarts, 2.5 miles
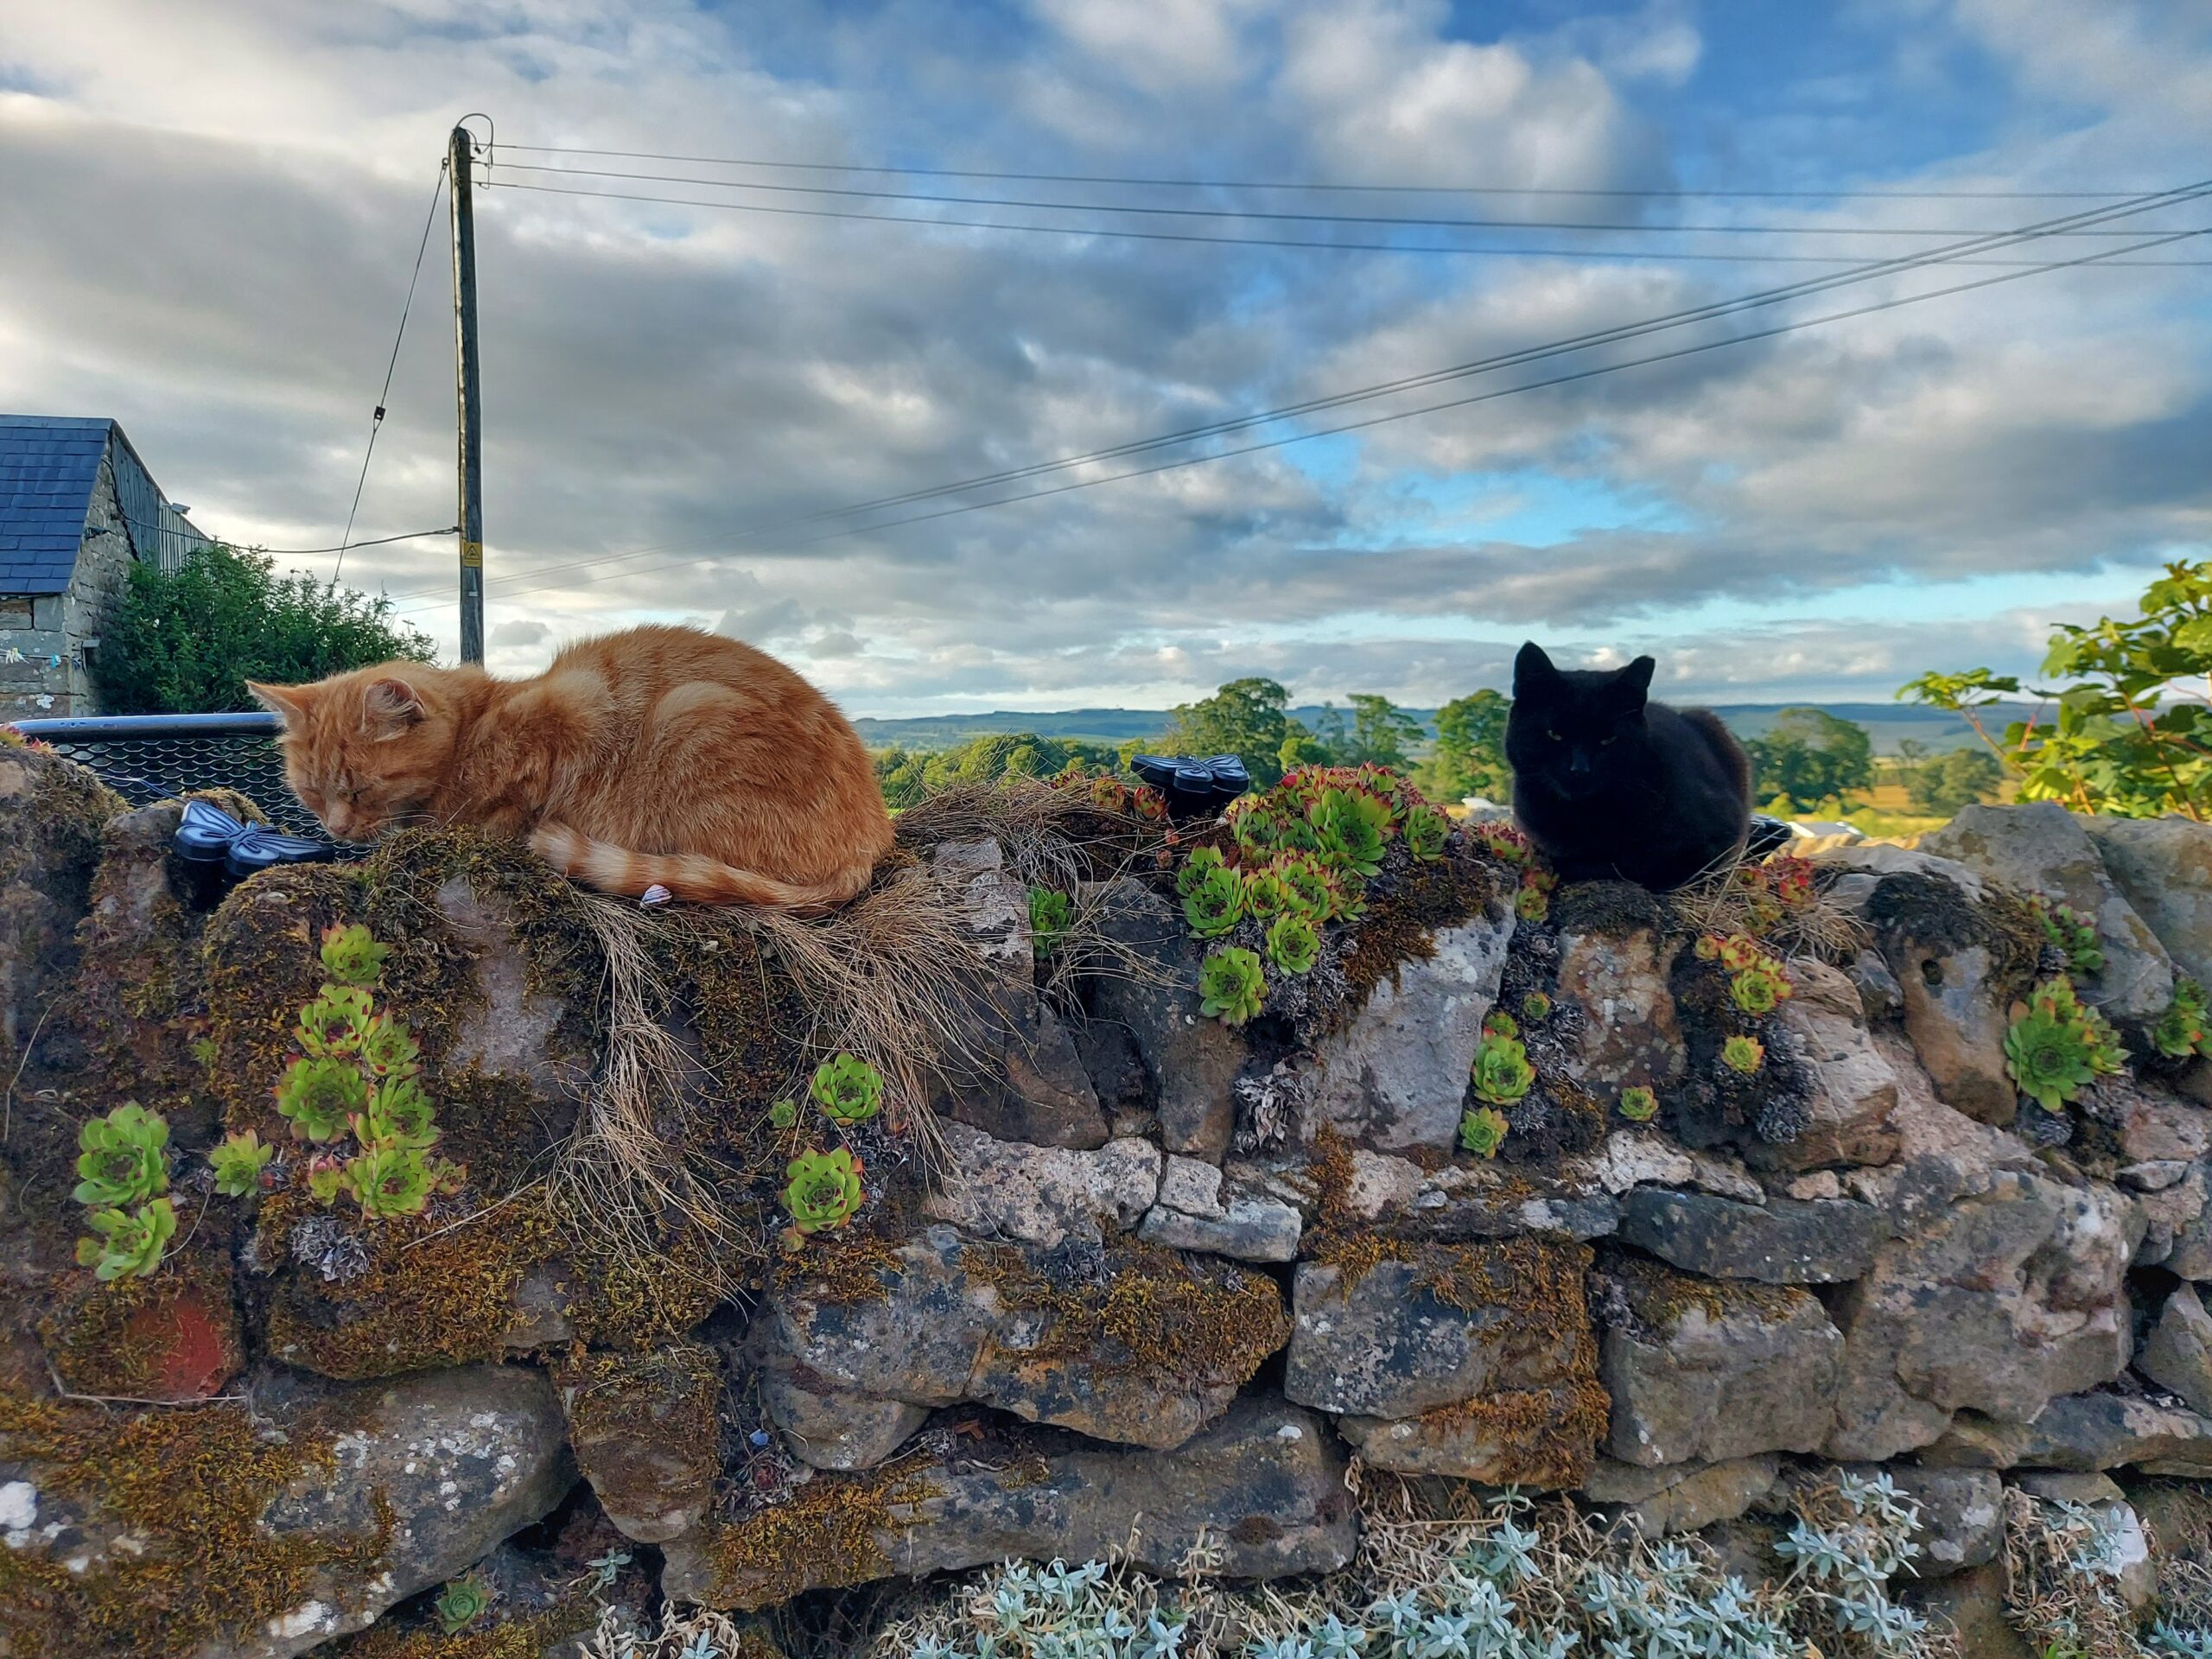
Heather and I met in Chollerford on the Wednesday, where we had left off last time. We didn’t have far to go to reach our destination – only a couple of miles – so we decided to pay a visit to Chesters Roman Fort first. After that, it was a walk of less than two hours to reach Greencarts Campsite and Bunkhouse.
Day 1: Greencarts to Once Brewed, 12 miles
The expedition proper began the following day. We left early to try and beat the heat, although it was still pretty warm in the morning. The path followed the road for several miles before breaking off towards the end.
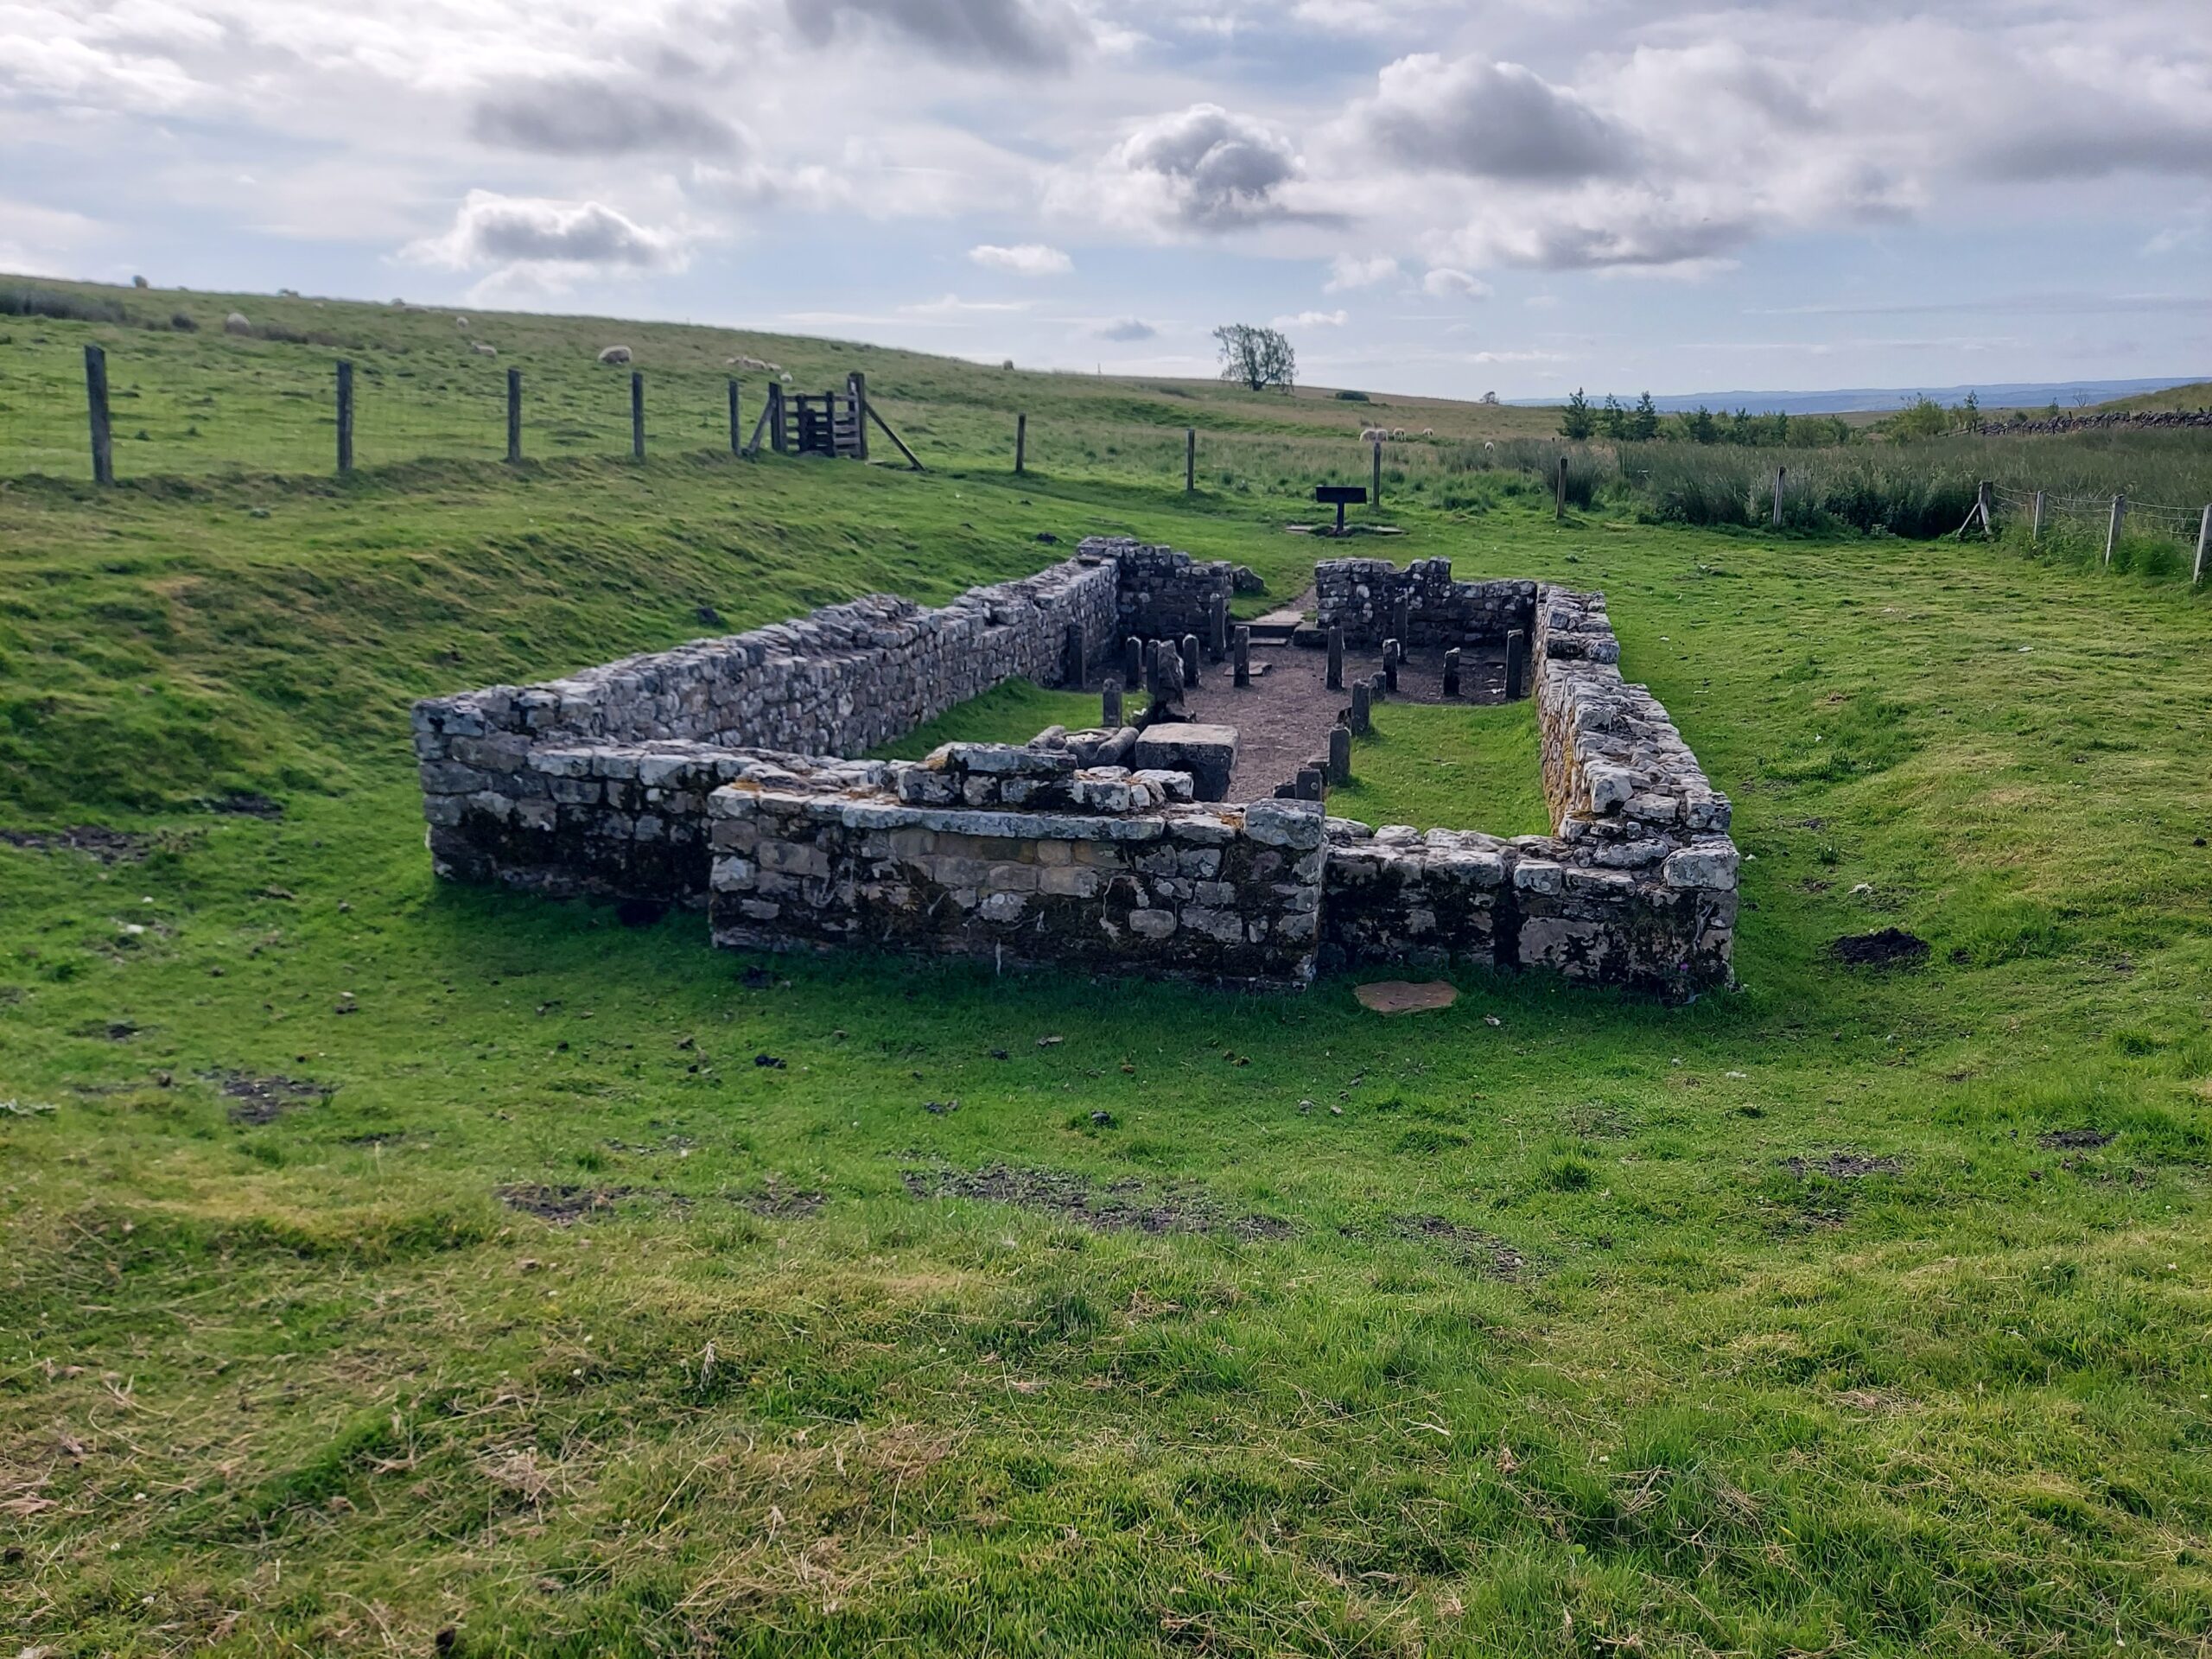
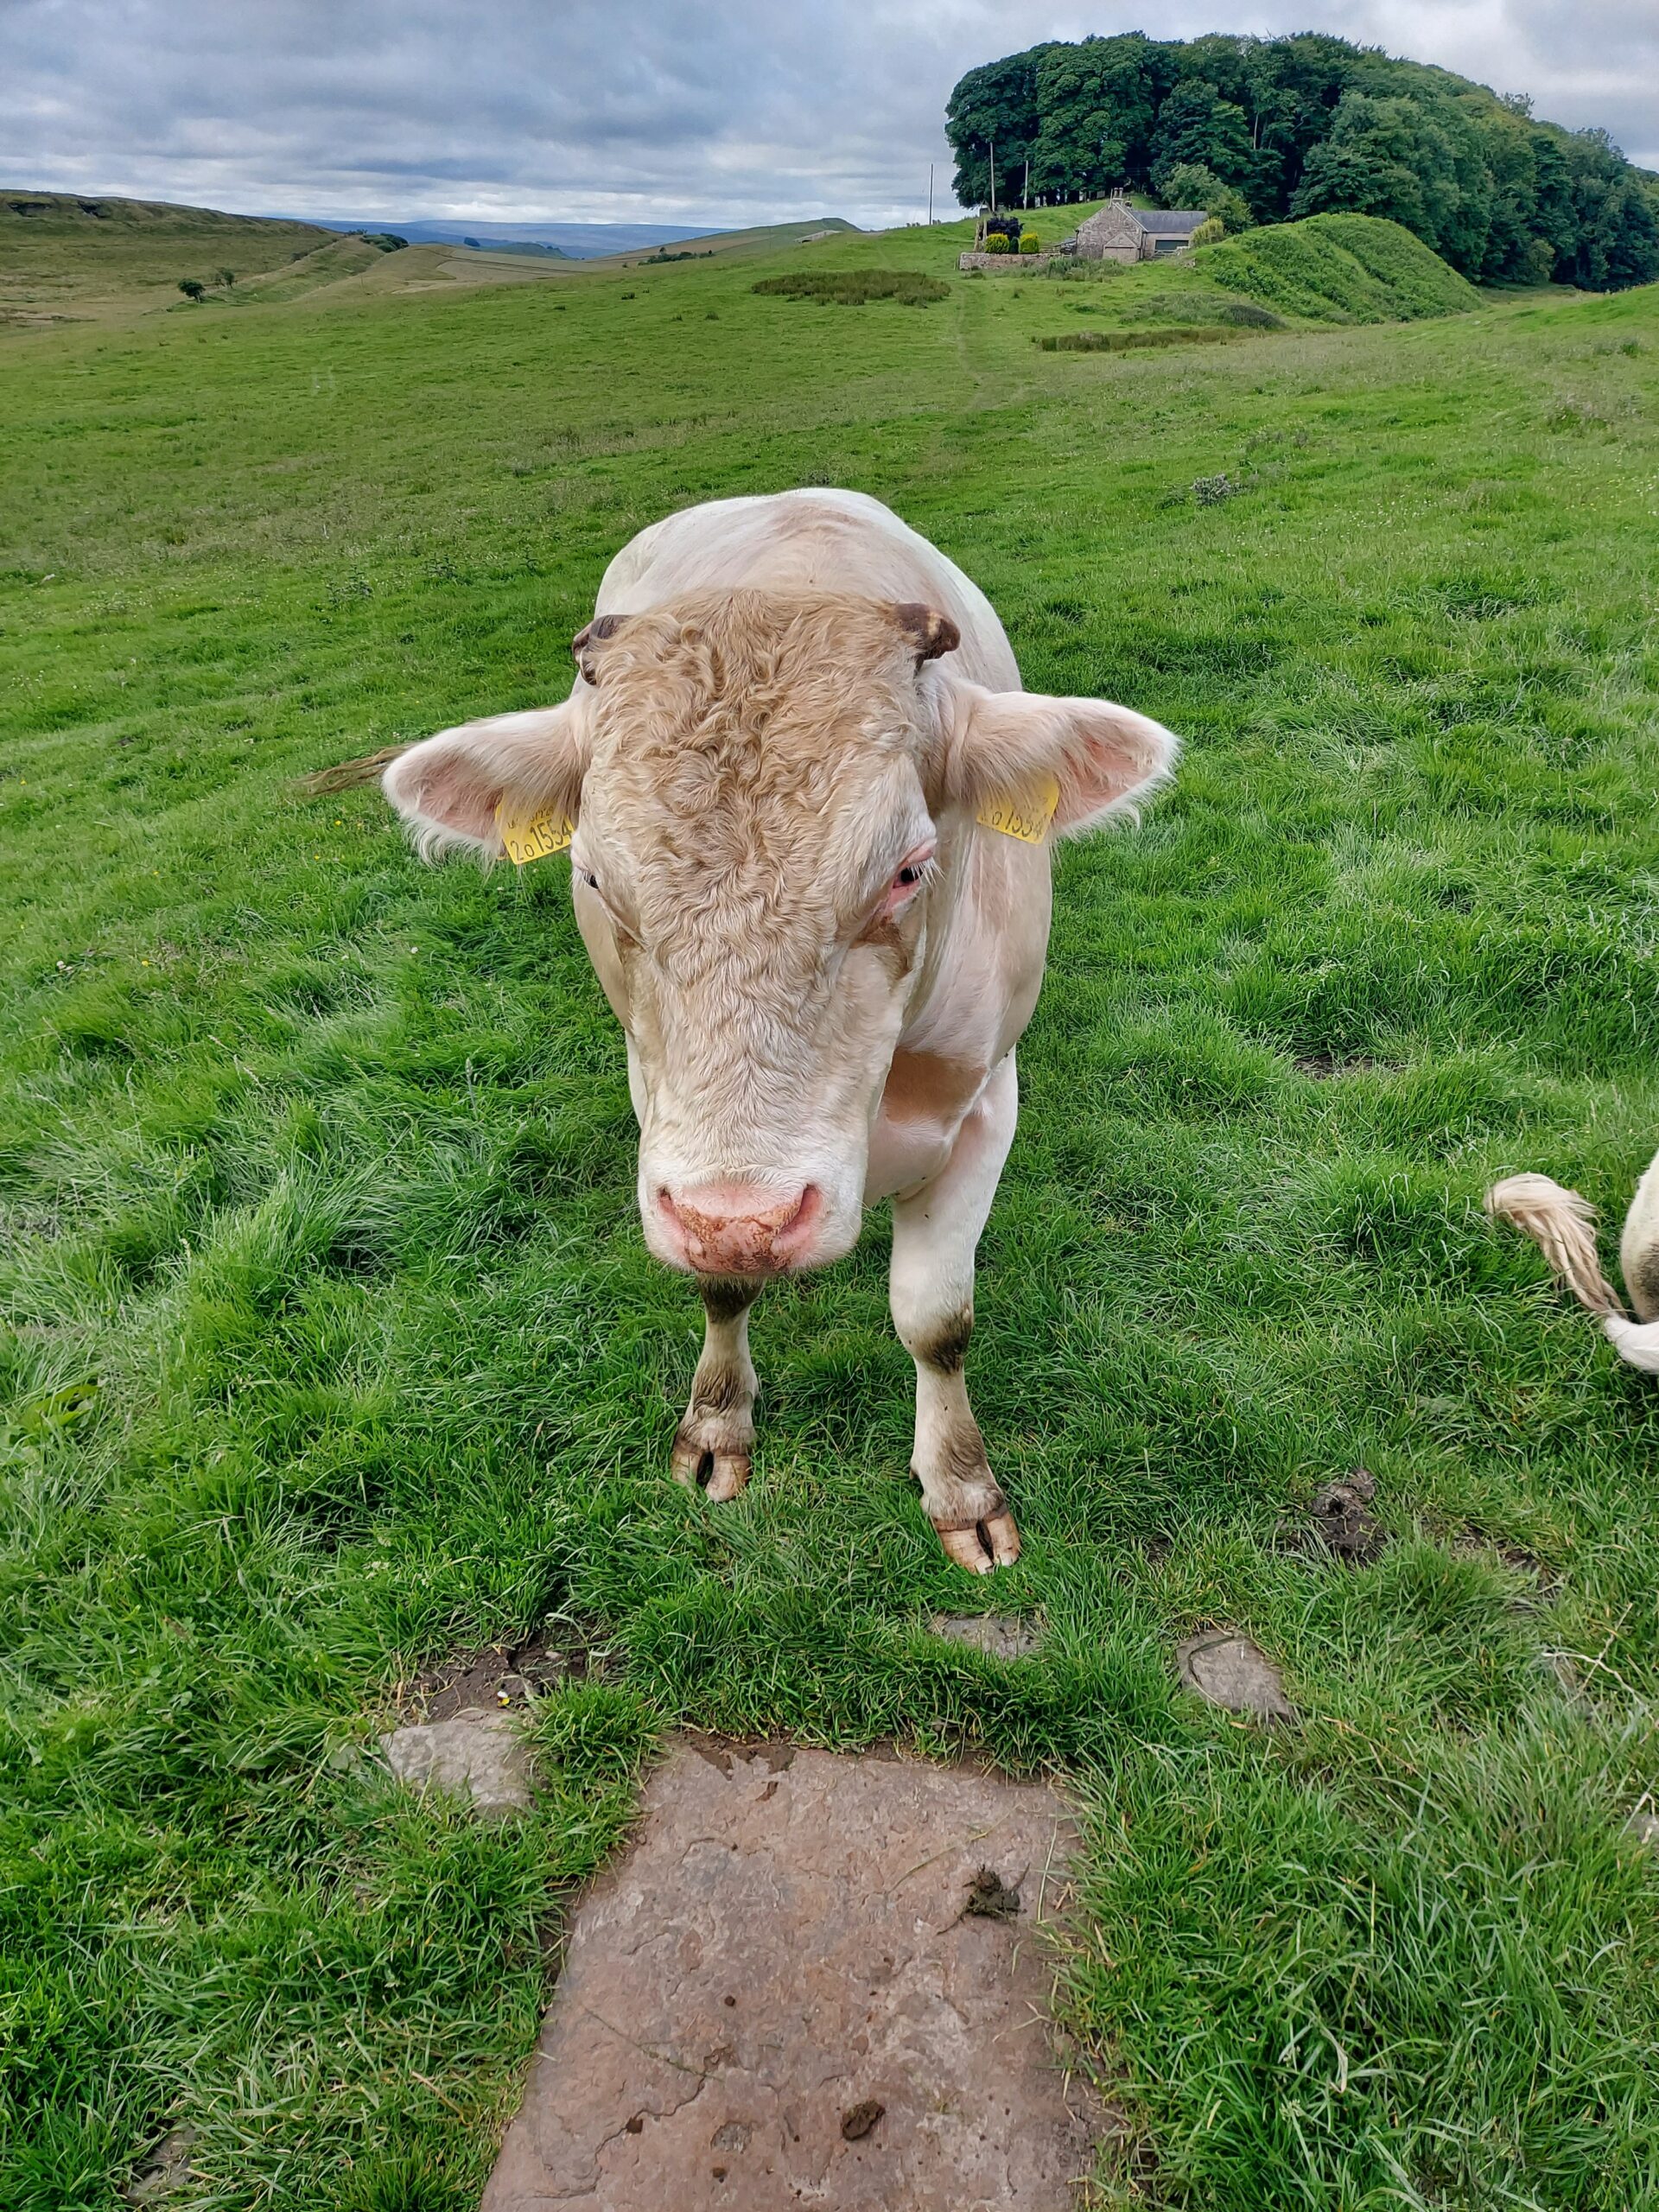
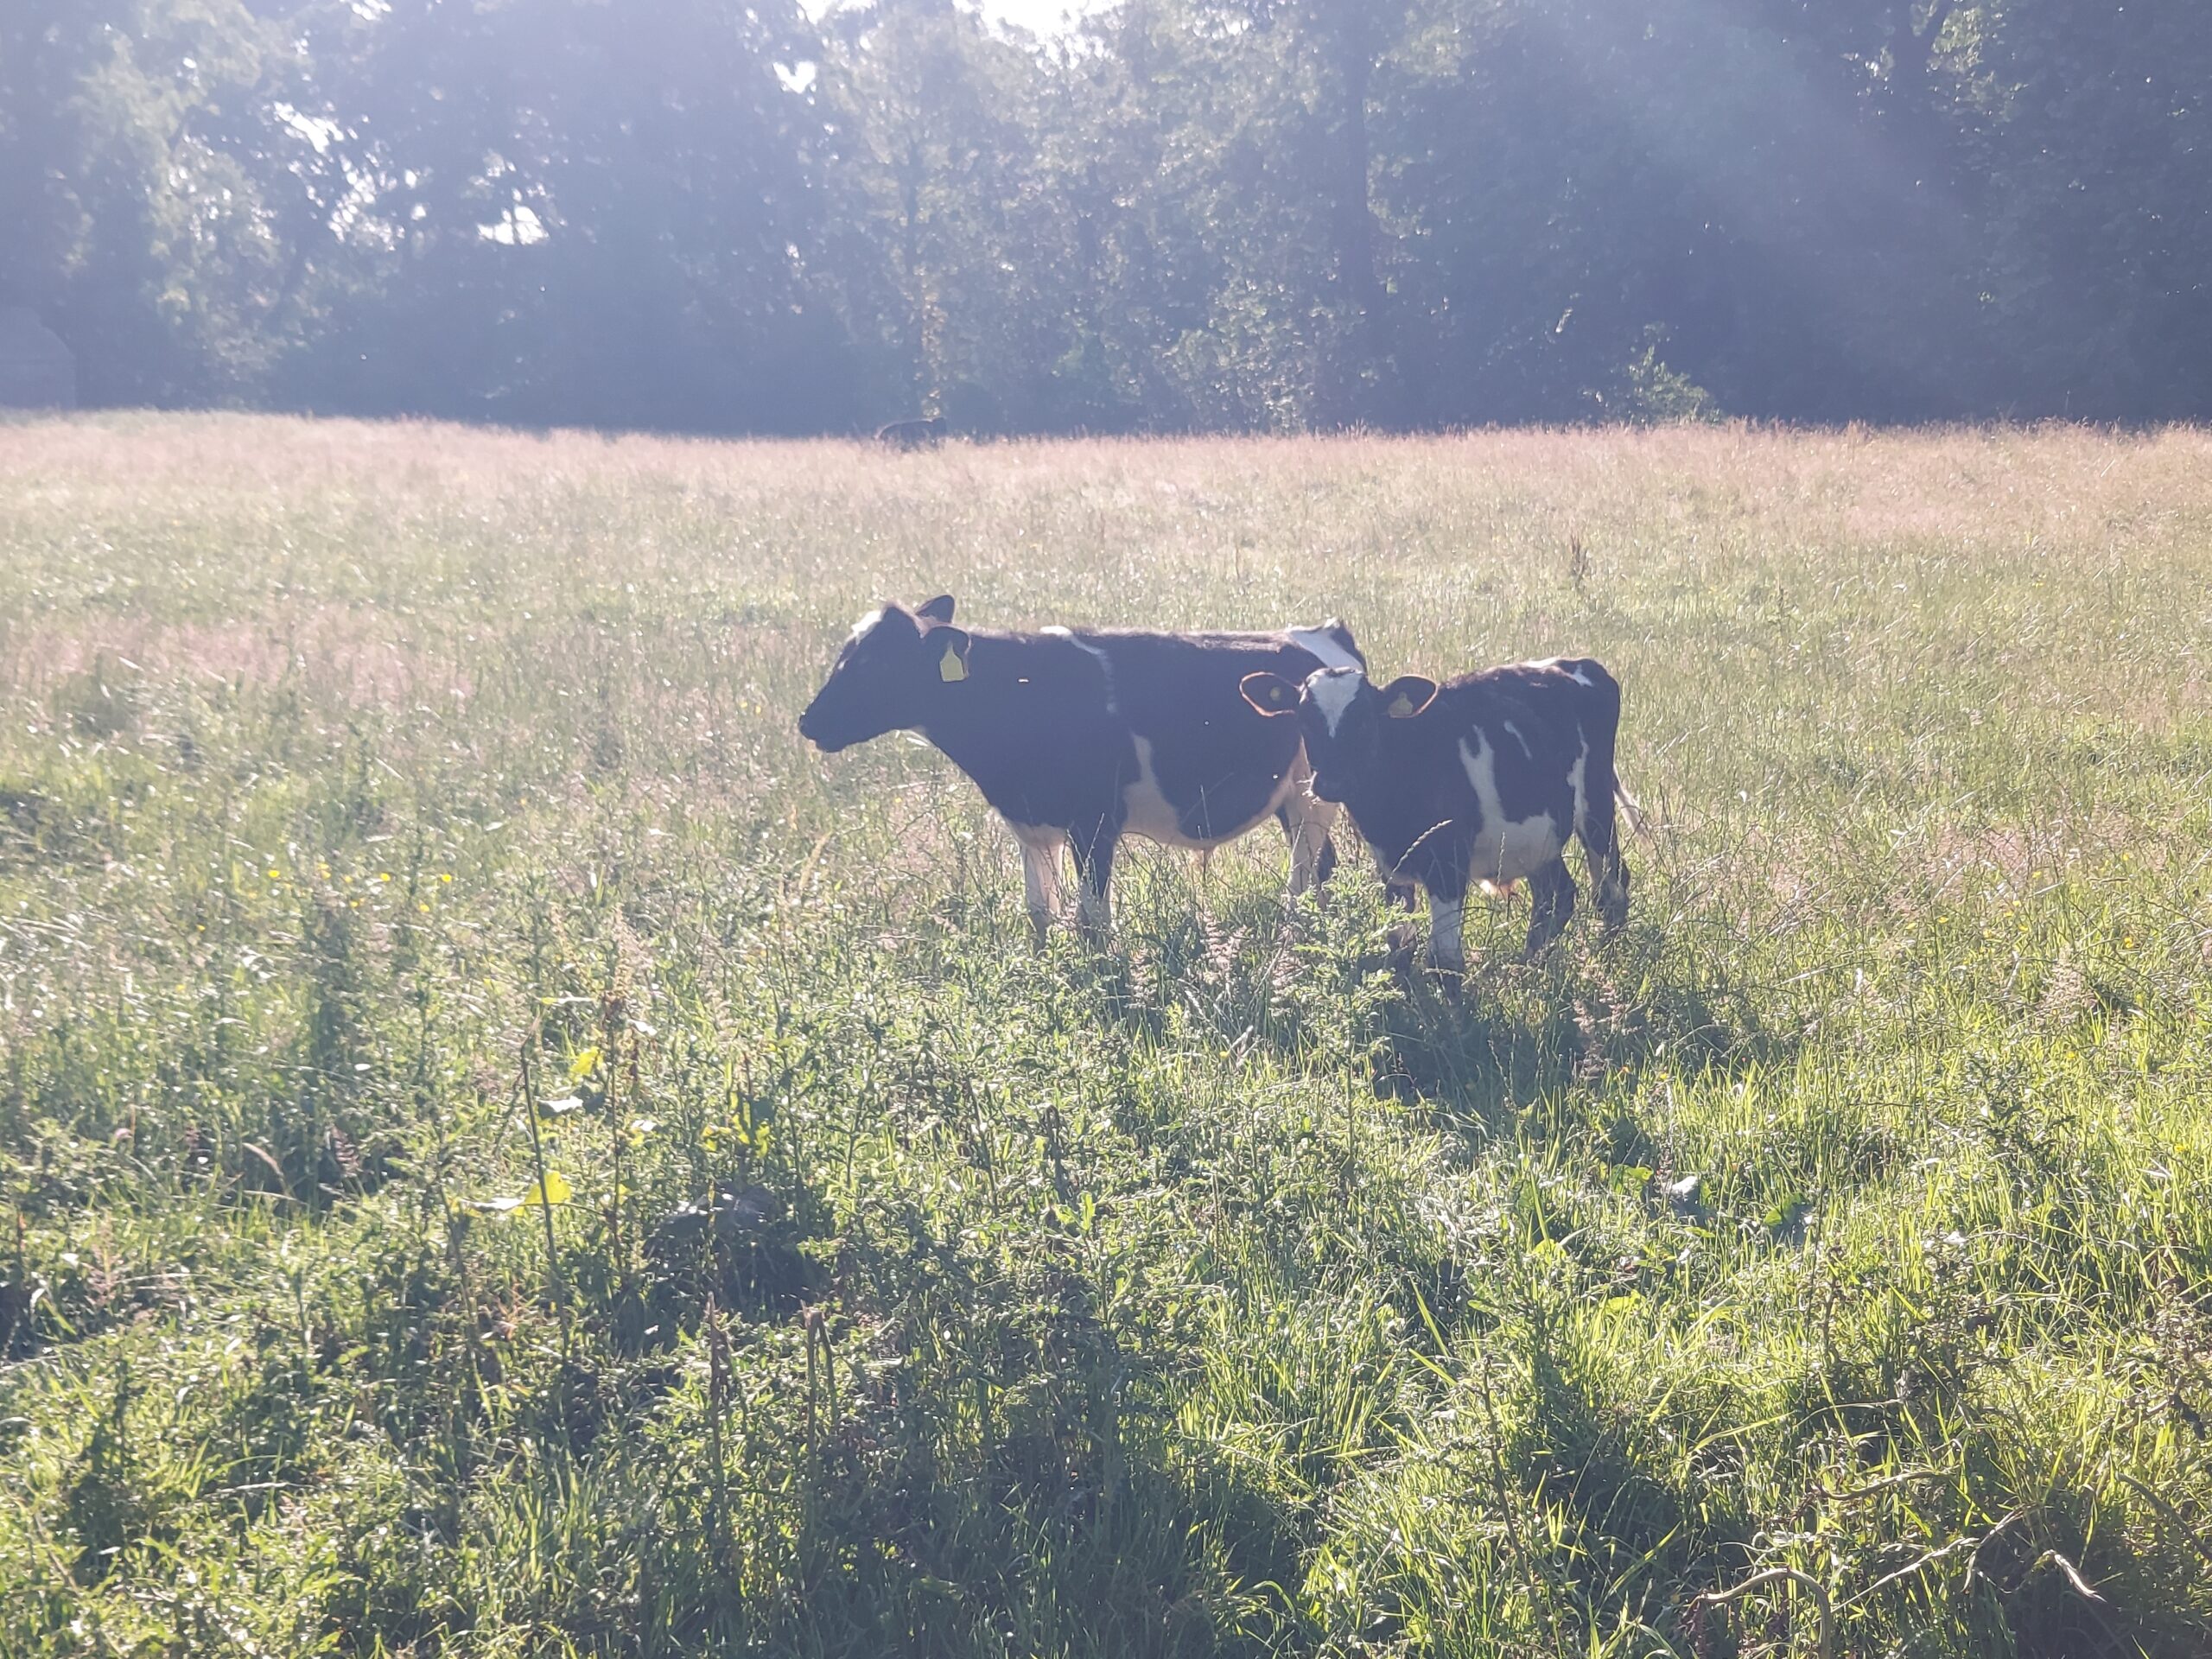
We saw some interesting things, including the ruins of Carrawburgh Roman Fort, and a Temple of Mithras. We also said hello to several cows, who were thankfully friendly. There was lots of the wall to see and several milecastles.
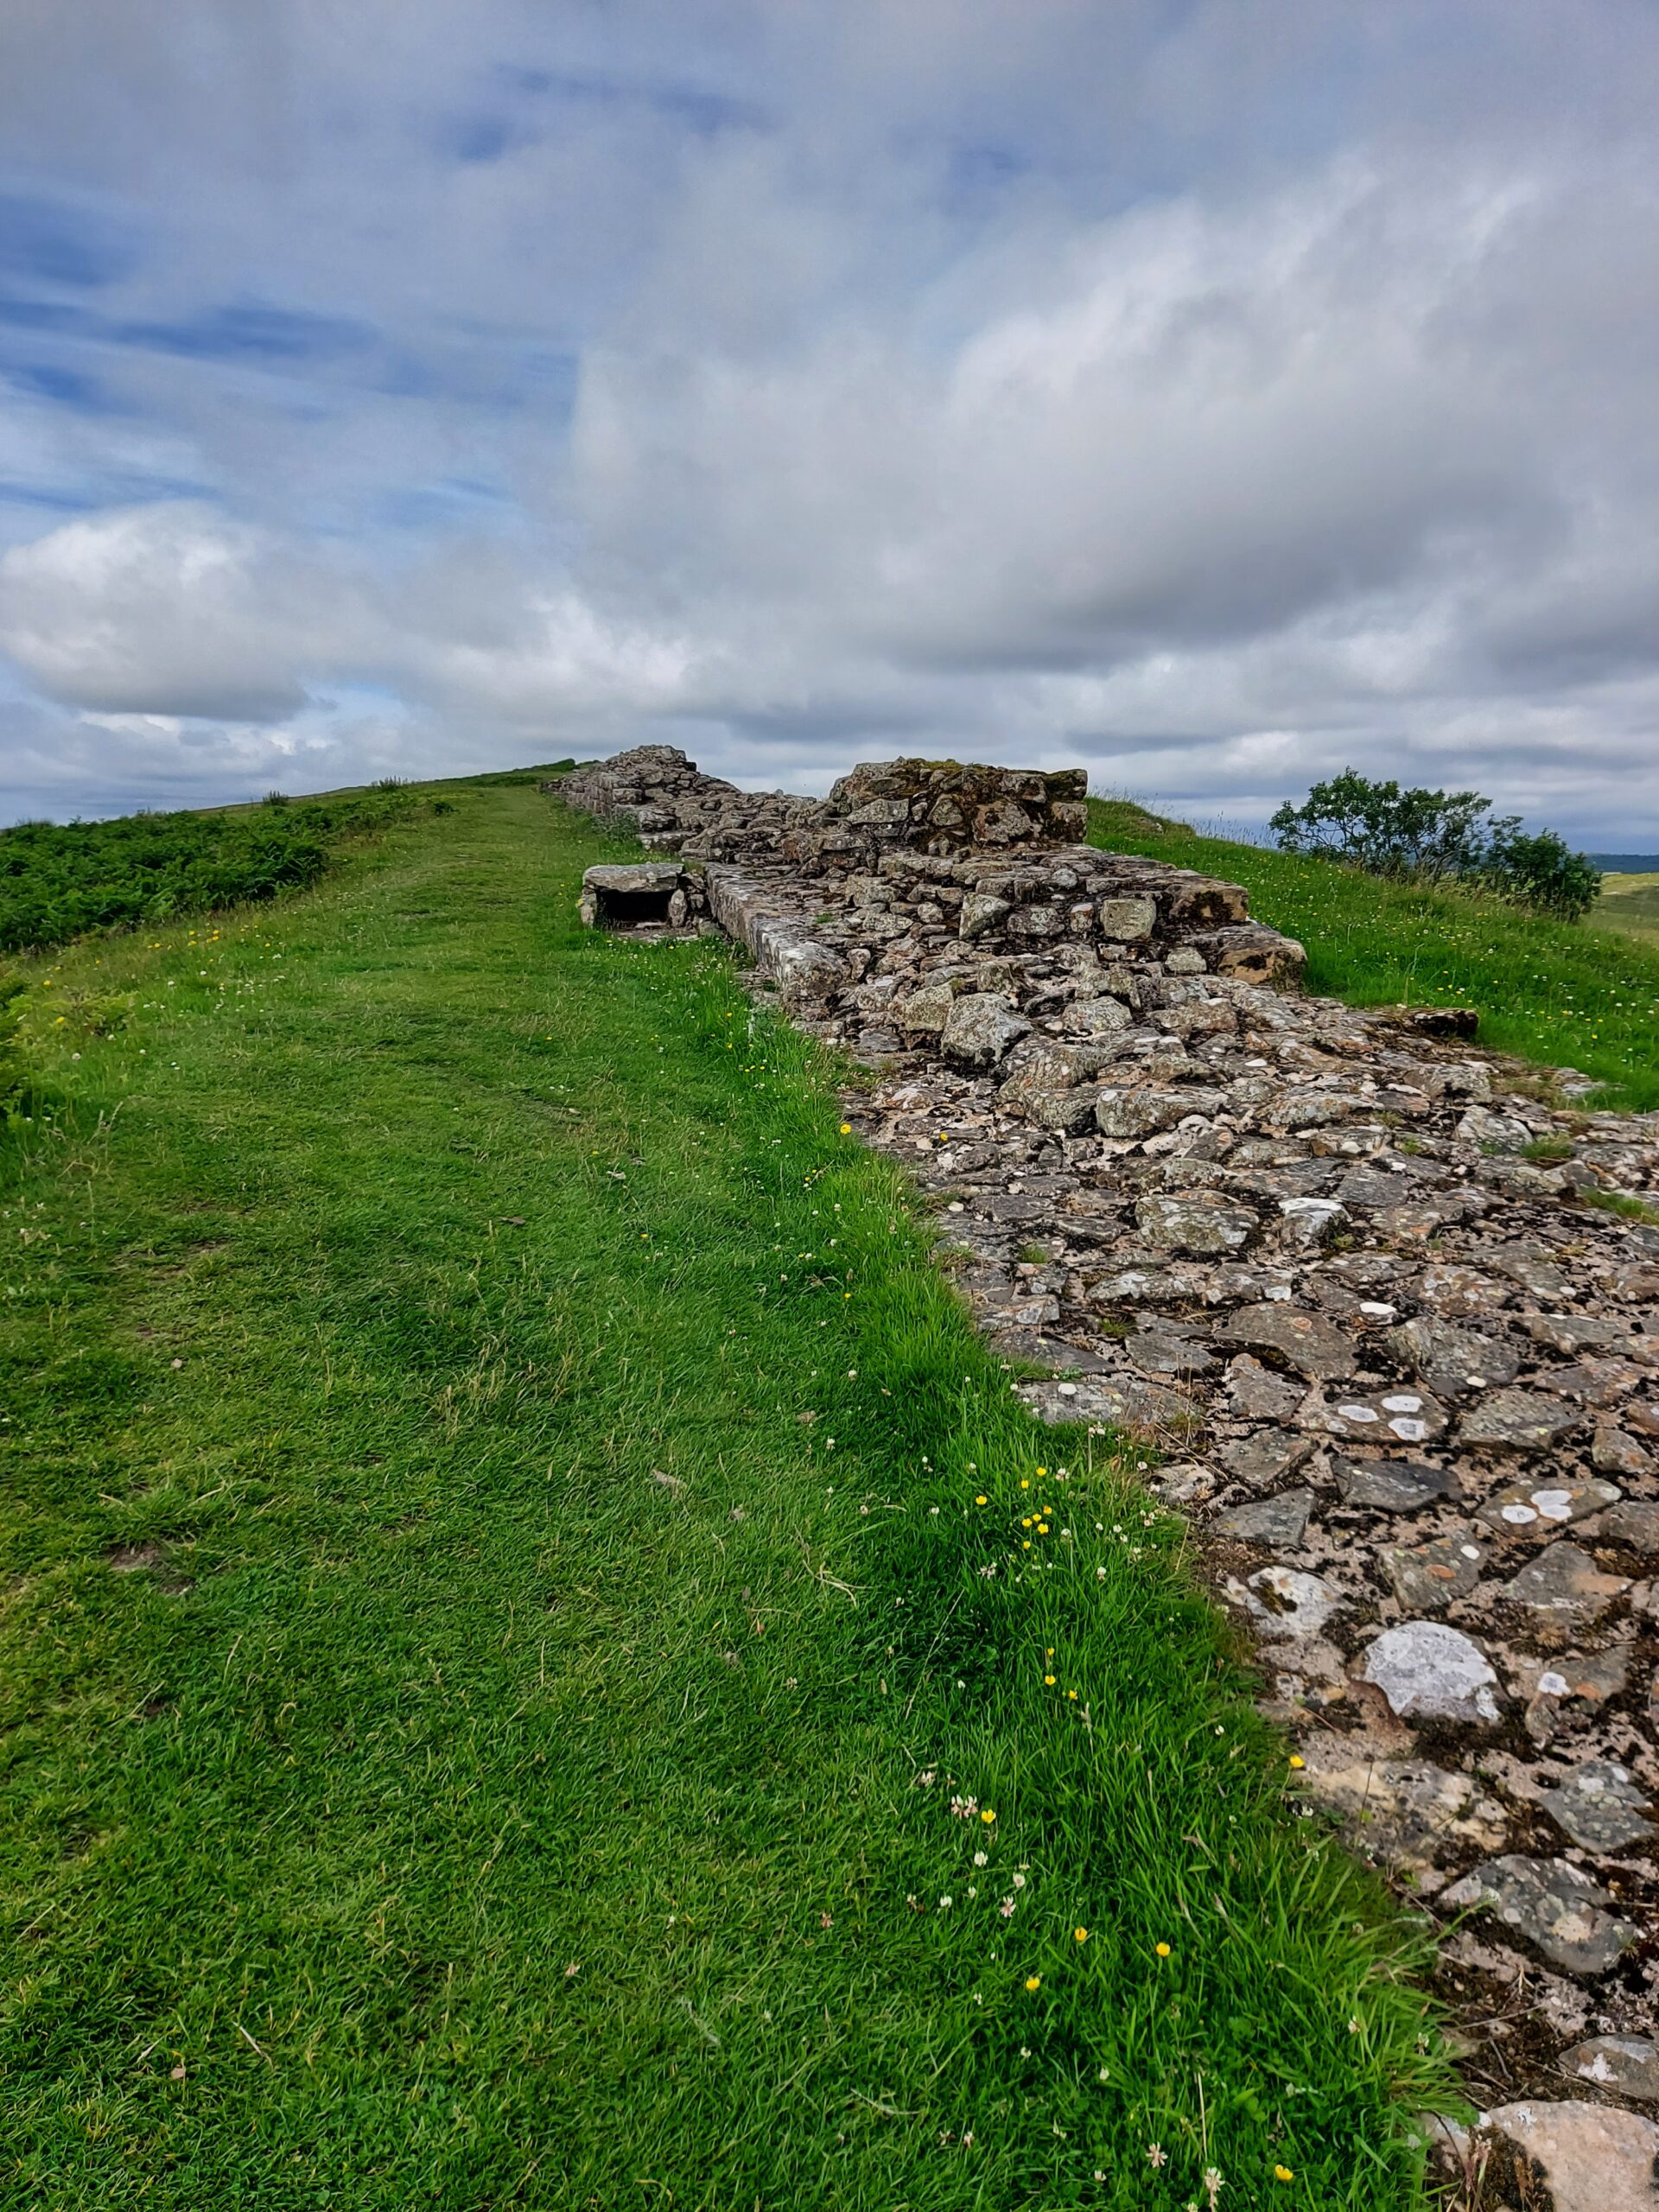
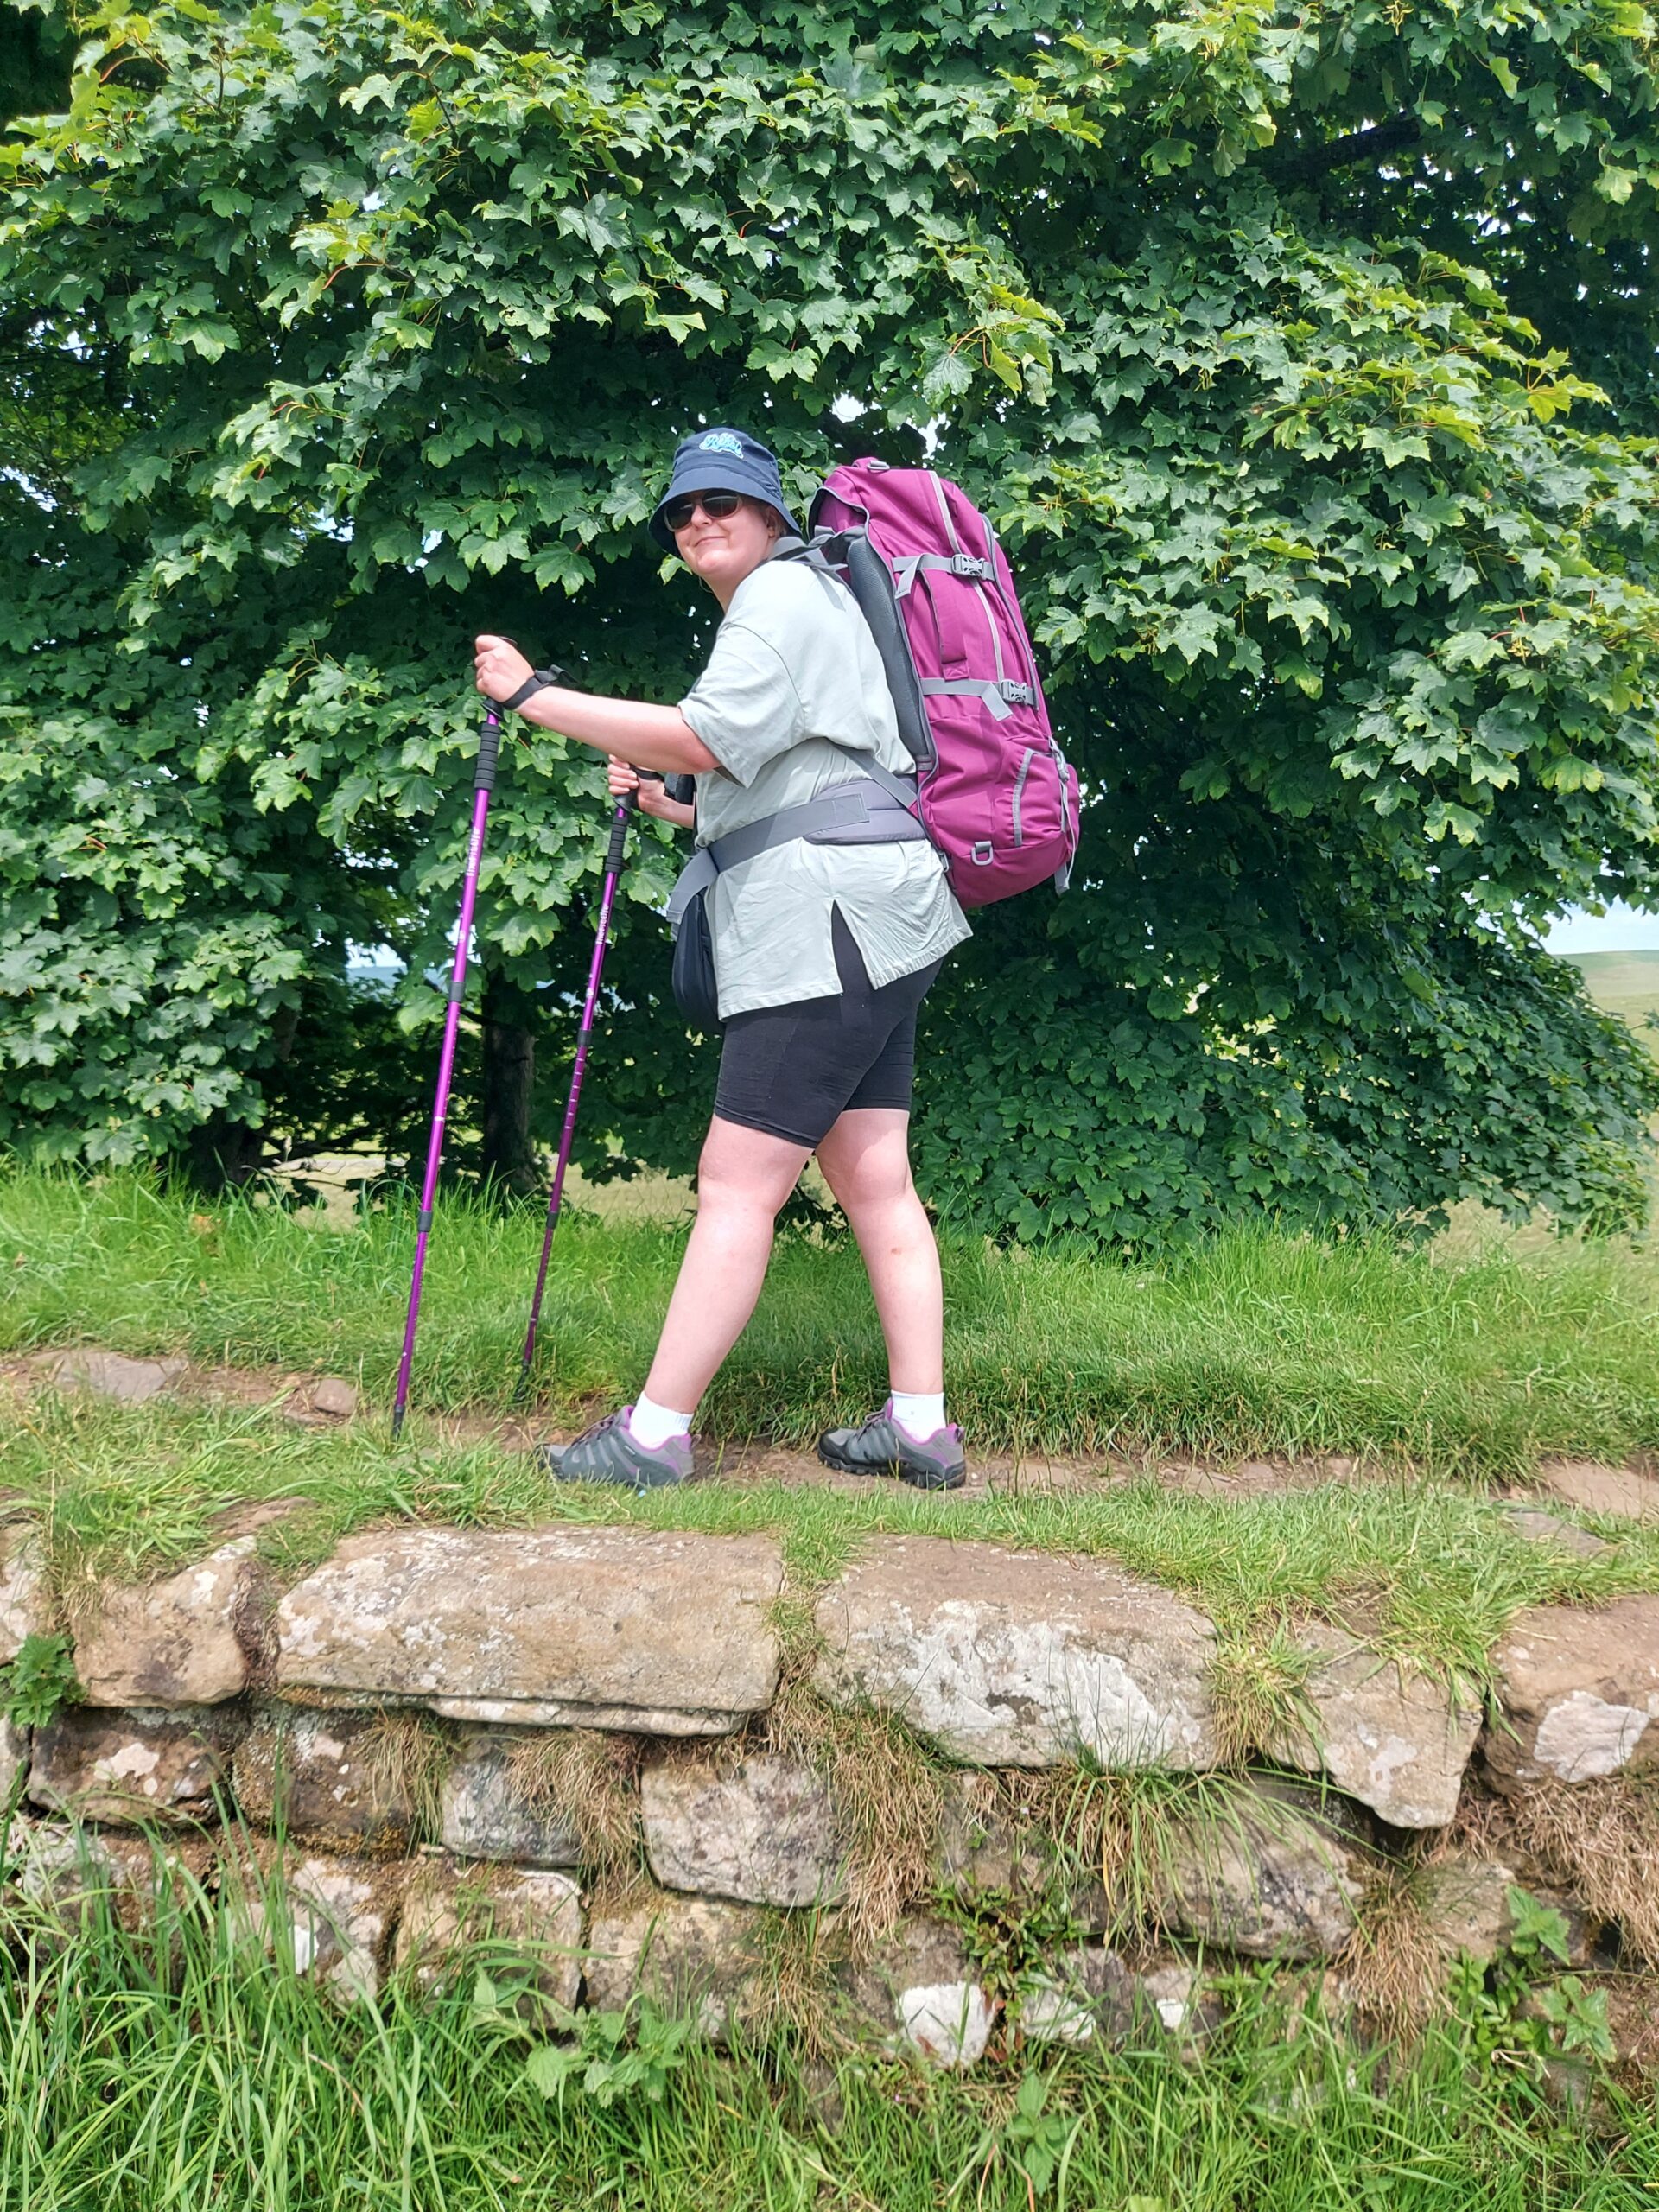
At Housesteads we were met by Naomi, a fellow Rebel, and her children. She brought us snacks and we took the opportunity to have a nice sit down. On leaving, we enjoyed walking on the one part of the Wall it is still ok to tread on. It was an amazing feeling to think I was walking where so many Roman feet trod before me.
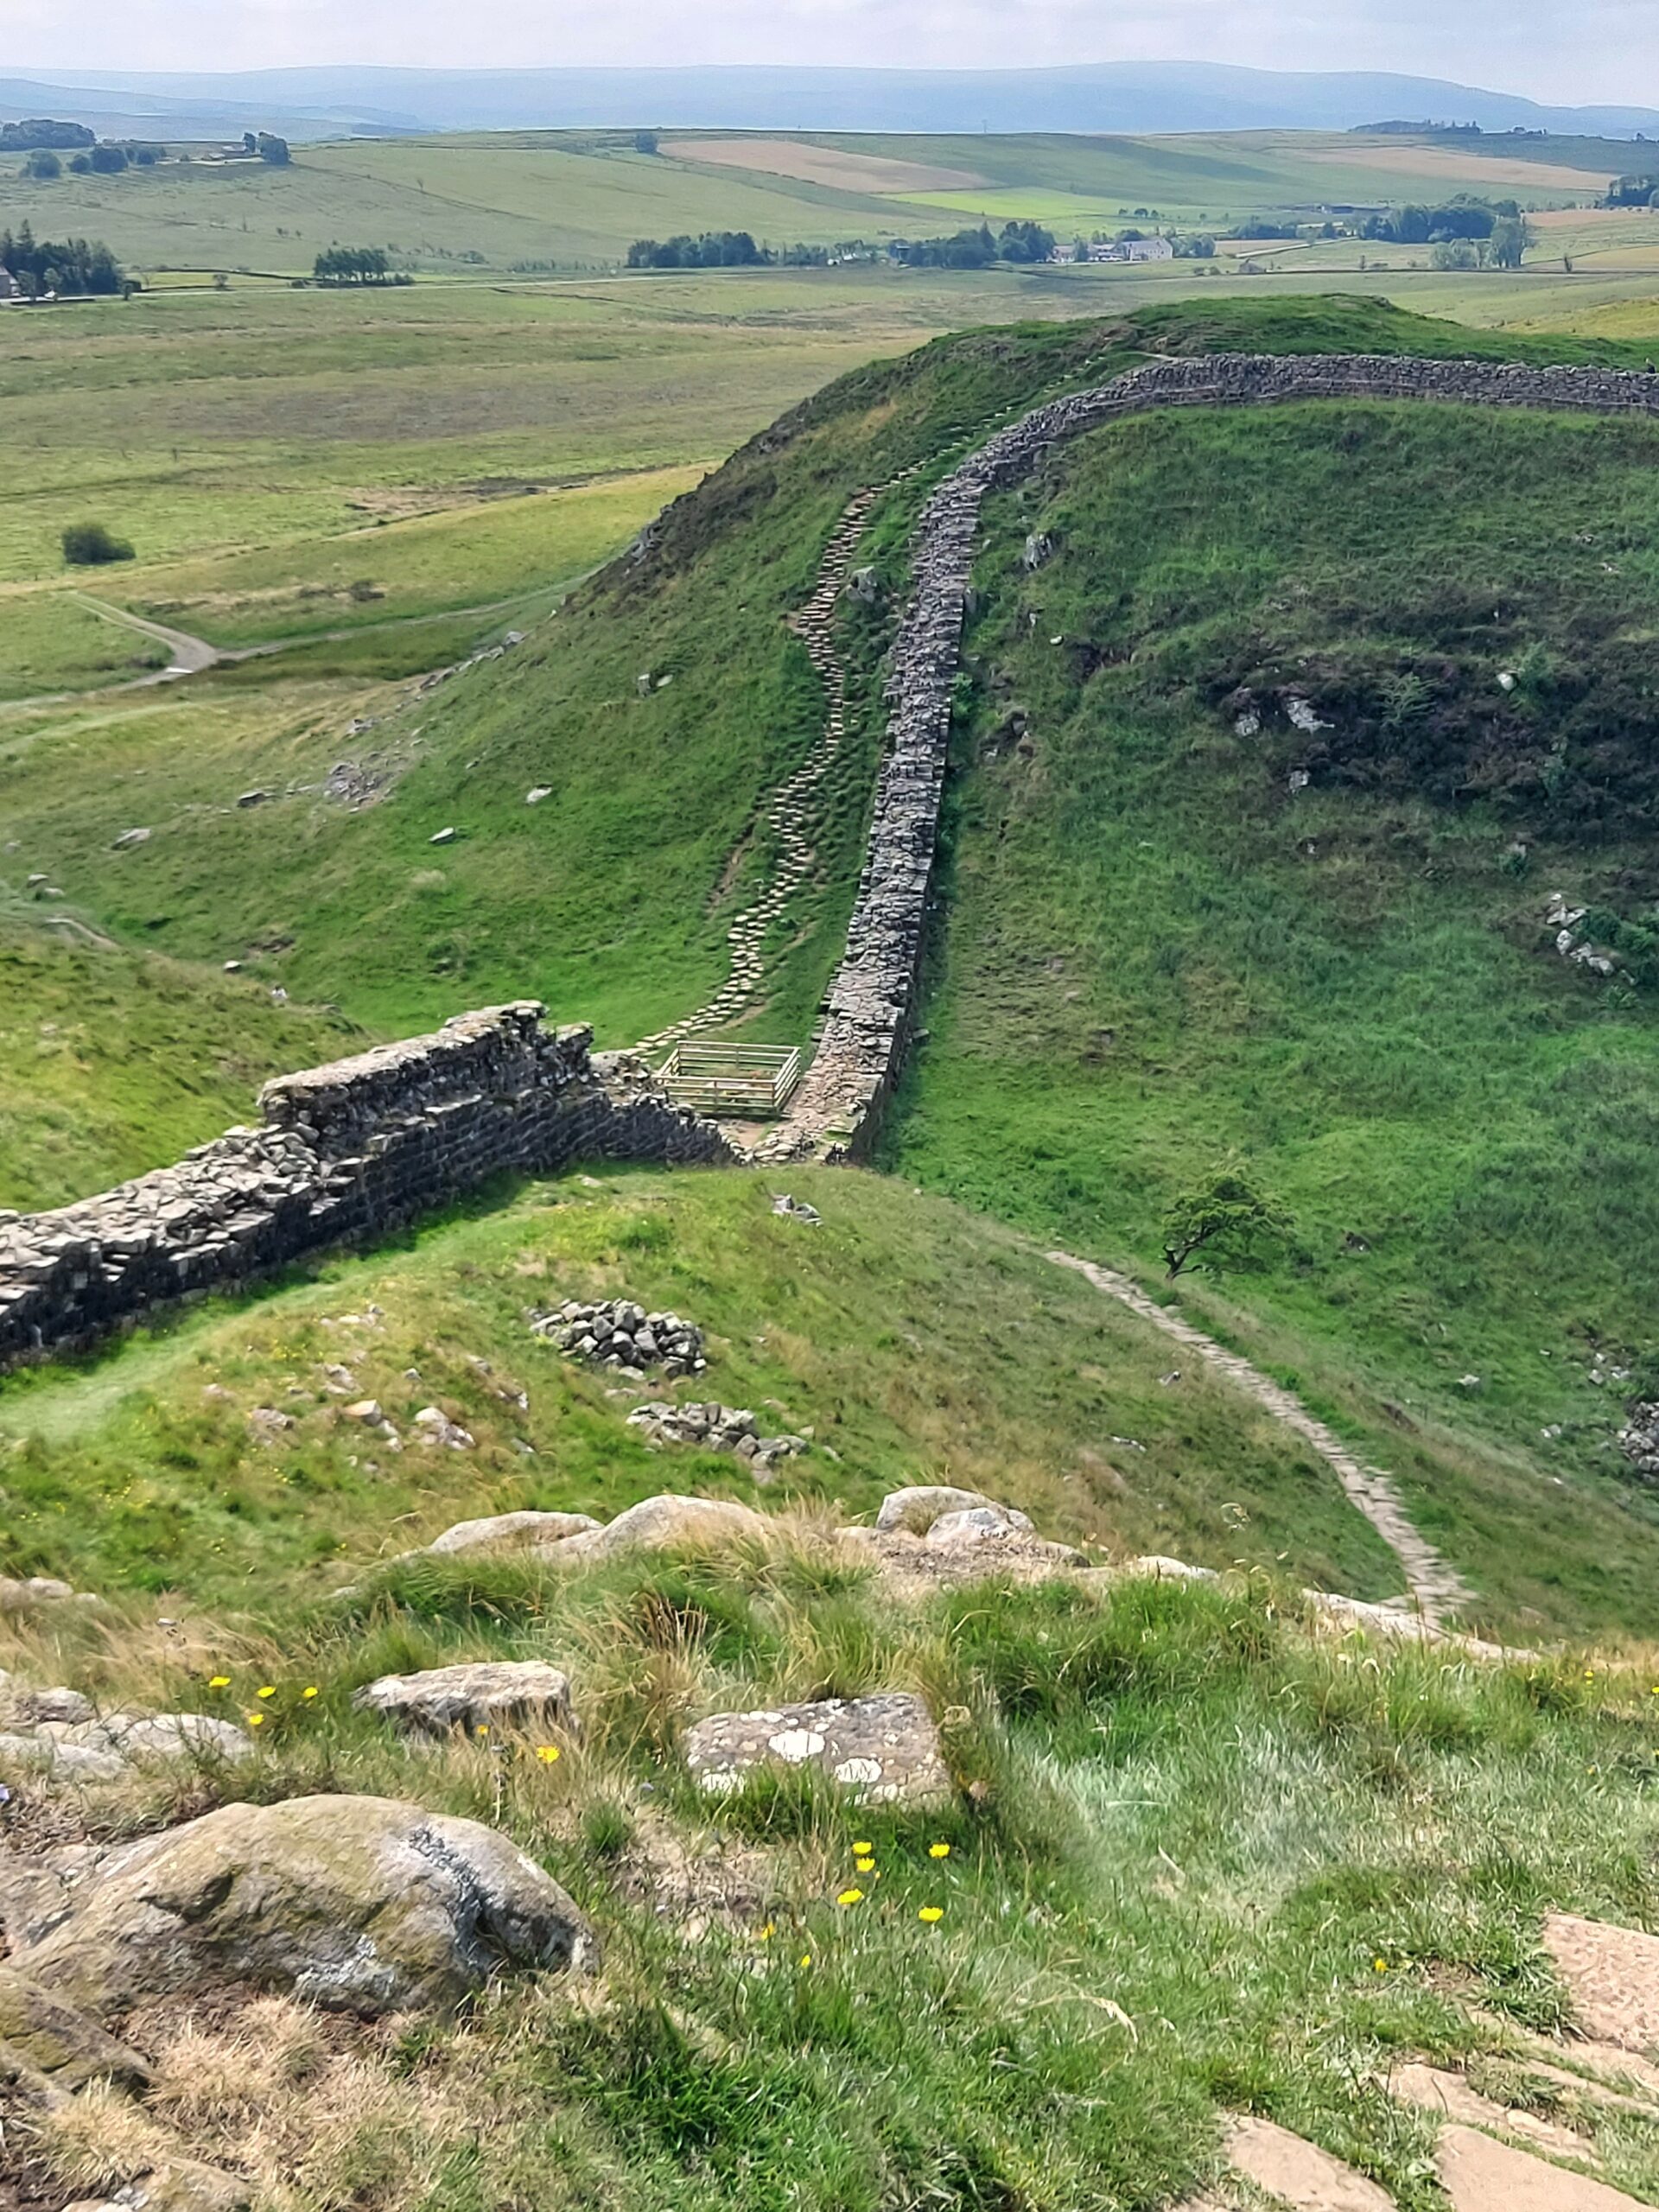
Around this time we passed Sycamore Gap. It was sad to see the spot where the once-magnificent tree stood.
Once we’d finished the day’s walk, we were shattered so we did get a bus to the Bridge House B&B, our home for the night. It was fantastic just to sit down! We popped into a local pub for tea but didn’t stay up late, as we wanted to get going early in the morning.
Day 2: Once Brewed to Banks, 13 miles
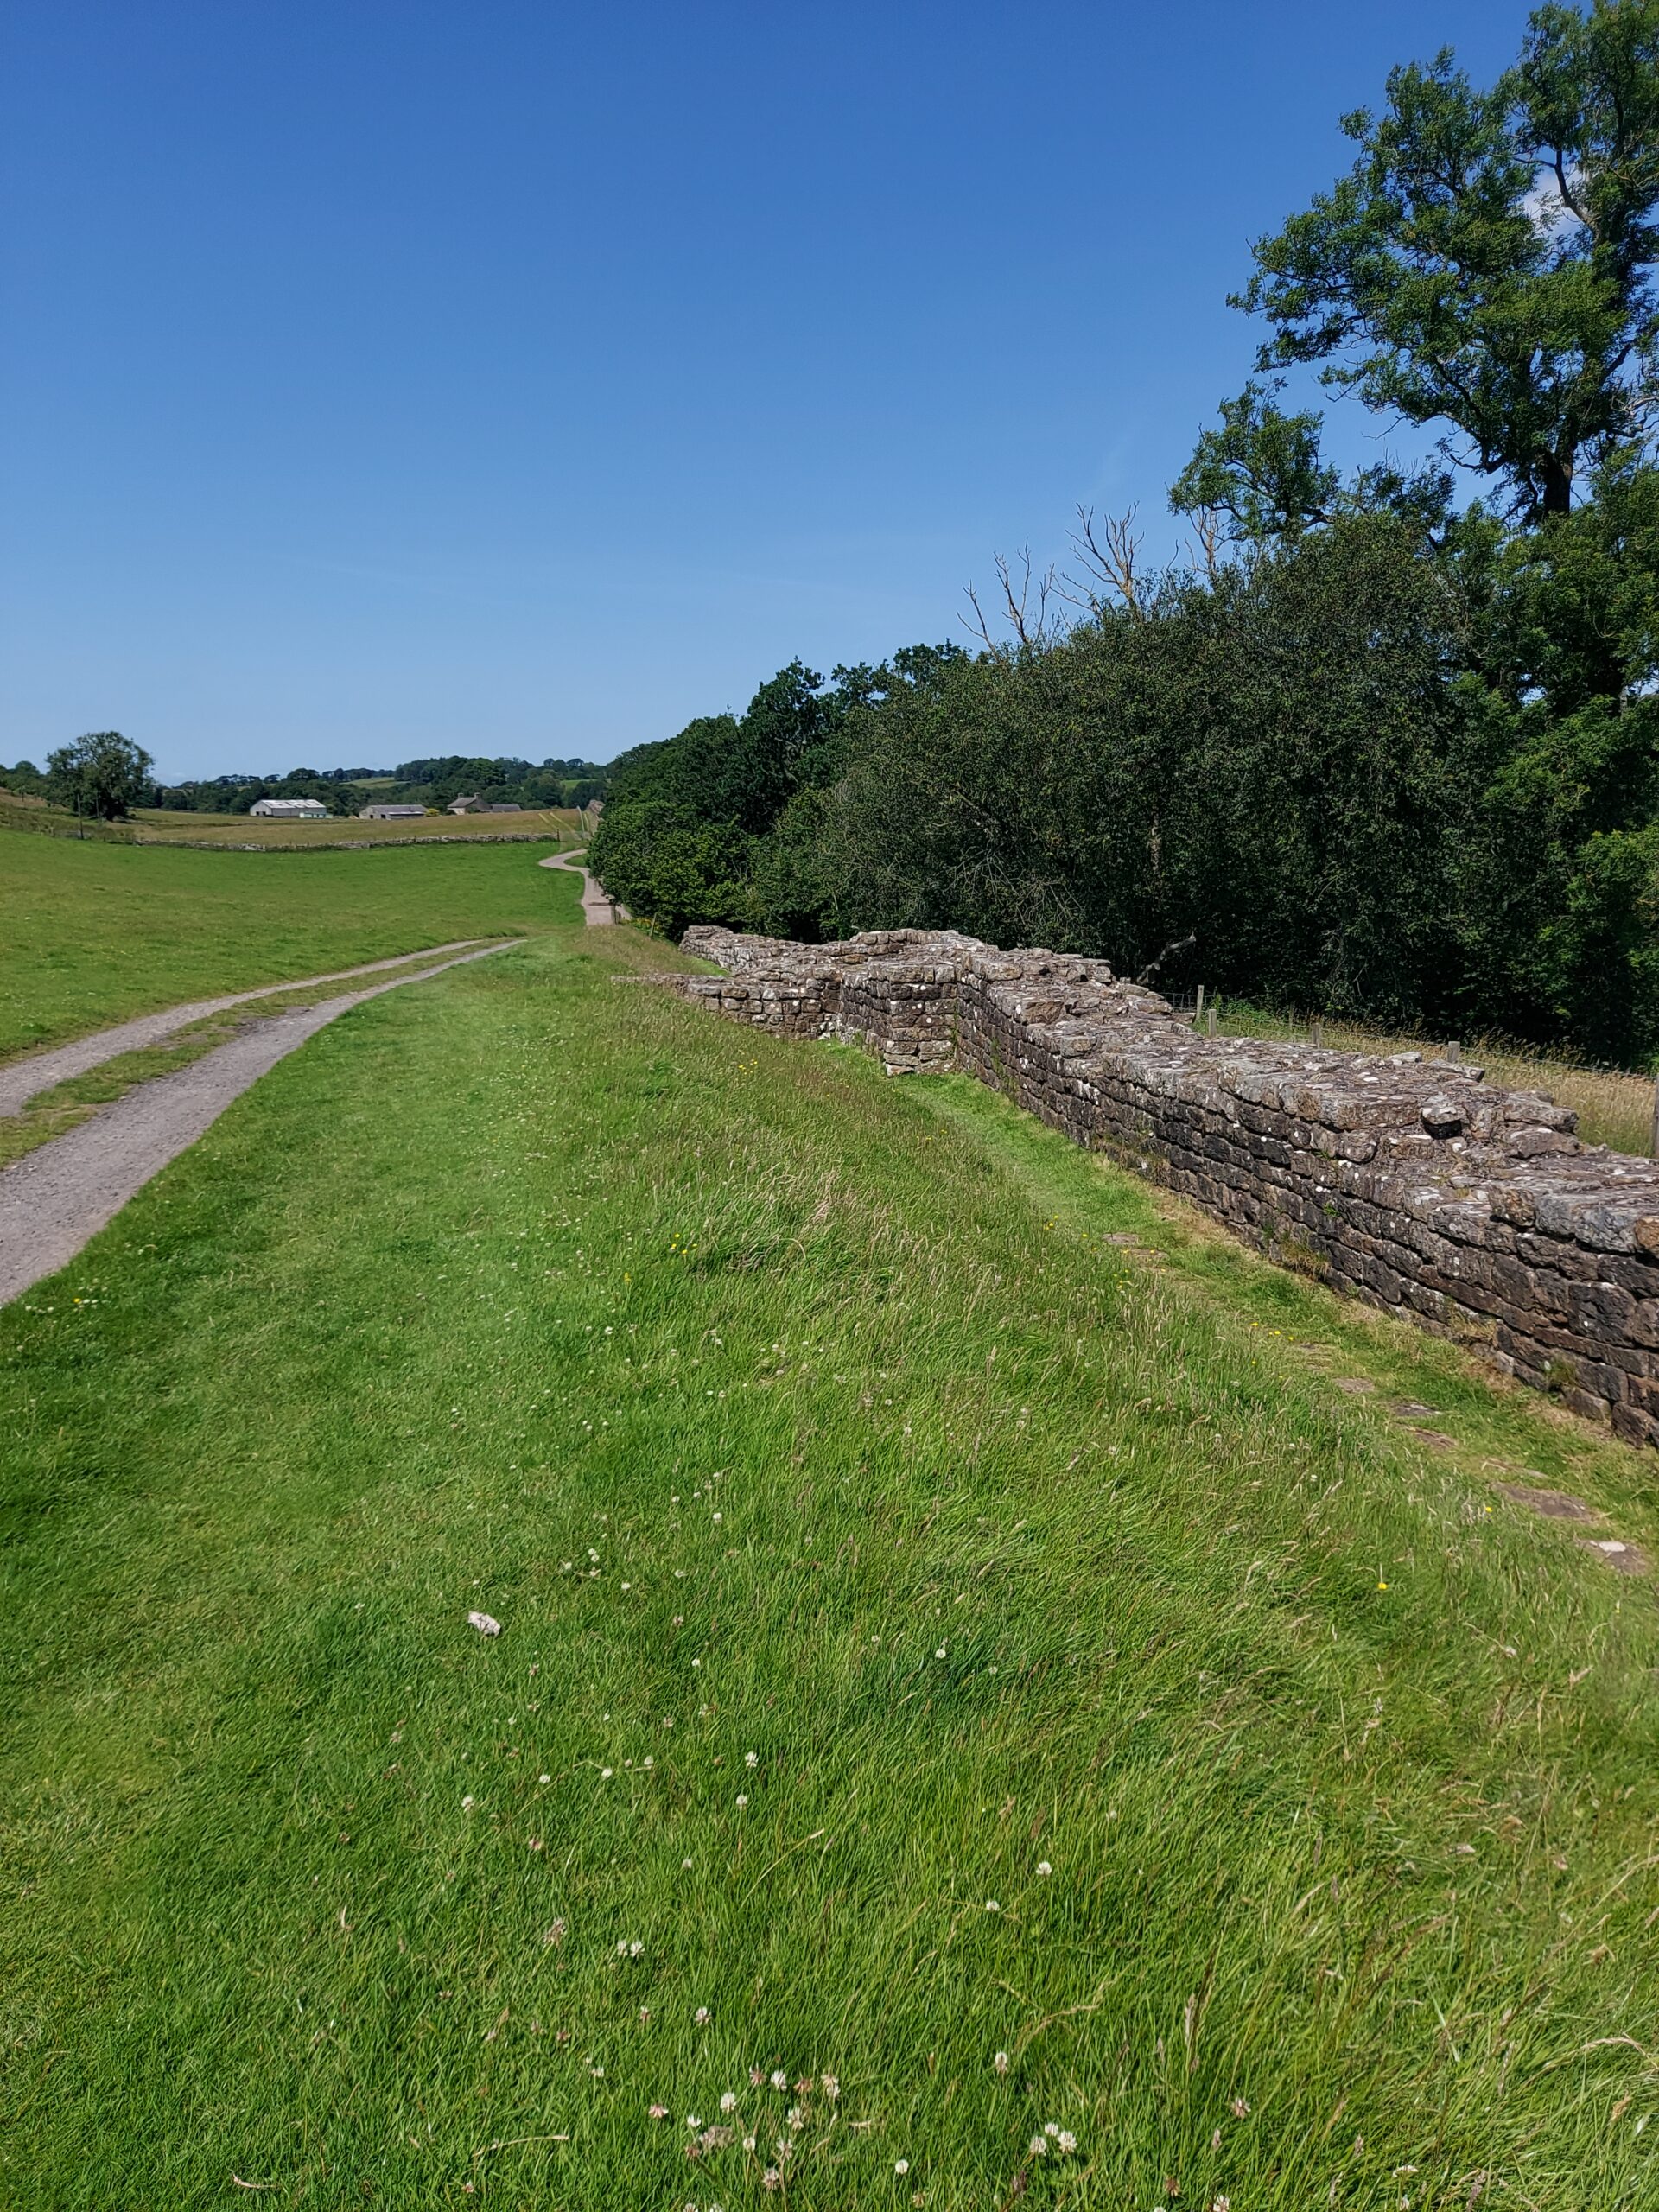
The next day was probably the hardest of our trip. The first part of the day involved trudging through what felt like miles of marshland on our quest to find the Wall. I’m sure we were a little lost at this point. Eventually we reached Gilsland and stopped for a rest and some food at House of Meg.
Heather was exhausted at this point and made the decision not to go on that day. This was definitely the right decision for her. I on the other hand knew that if I stopped walking for the day it would be down to laziness, as I knew I had the ability to go on. So I resolved to walk by myself to Banks. After a long sit down and rest I felt refreshed although the long pull uphill shortly afterwards almost killed me!
I soon reached Birdoswald Roman Fort and had a rest and an ice cream before going on. Luckily the rest of the day’s route was fairly flat, and I had no problems following it. I was very relieved, however, to arrive at Banks, finally have a wash, and go to sleep.
Day 3: Banks to Carlisle, 14 miles
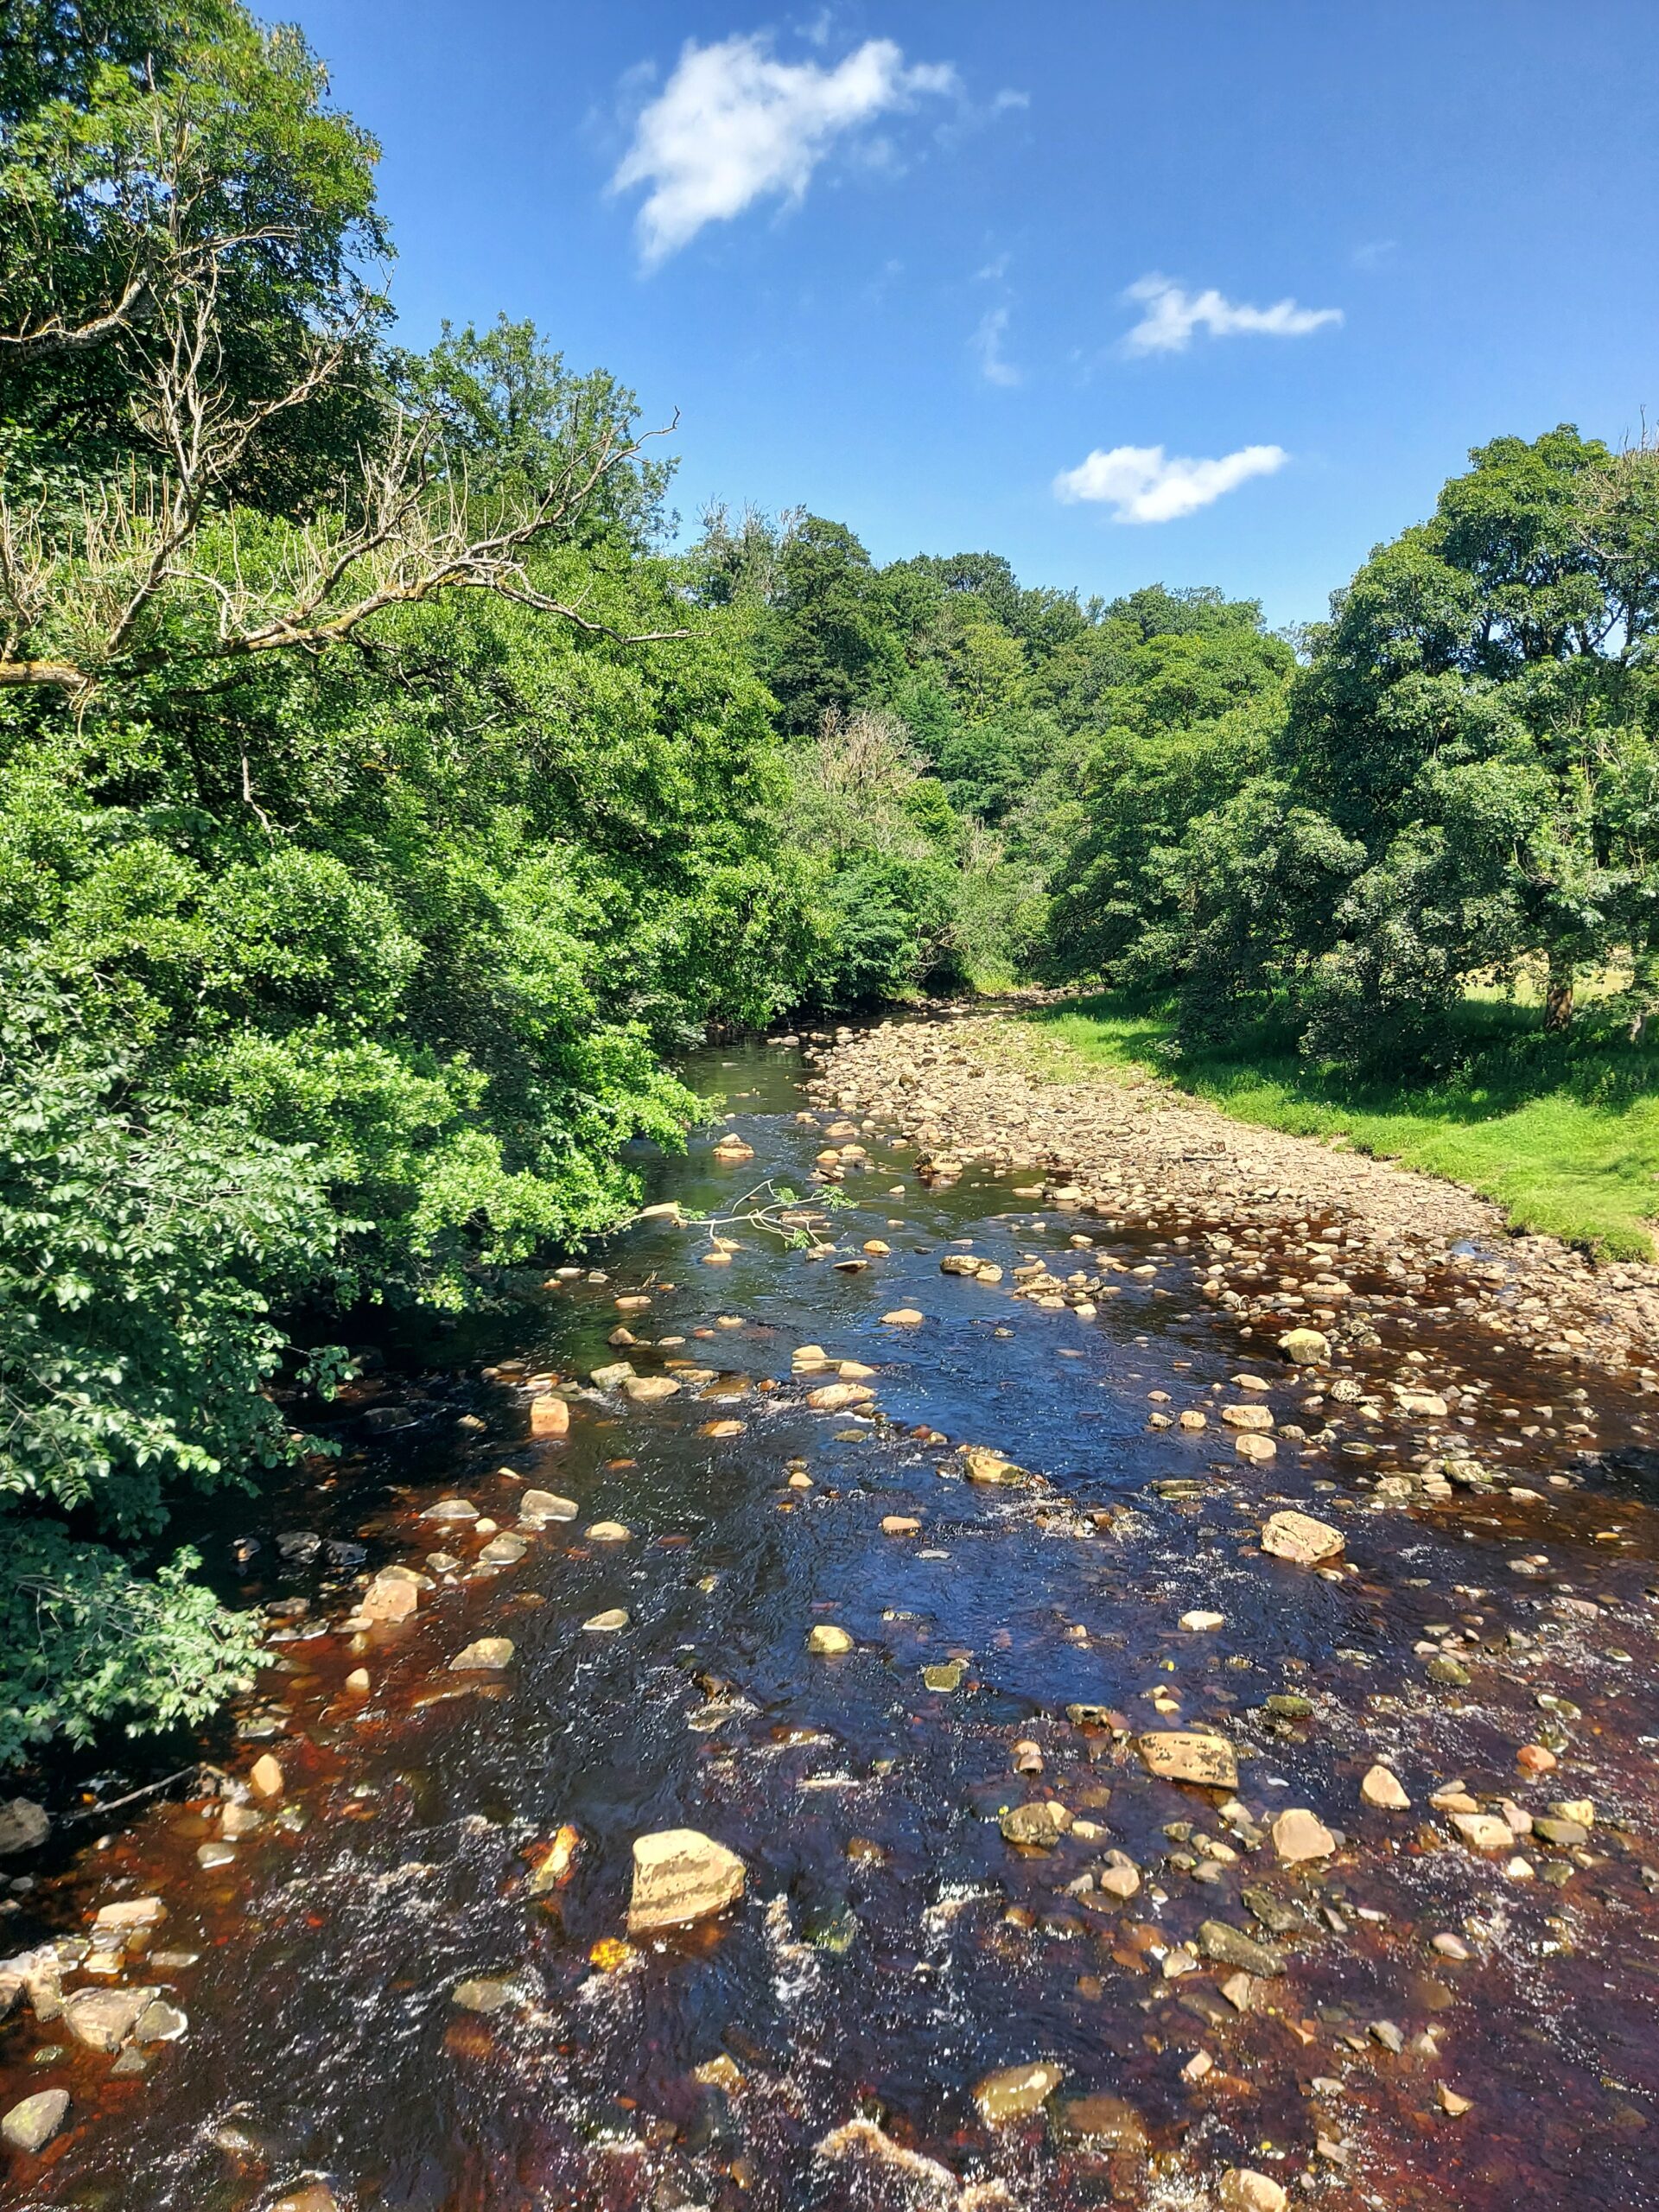
We woke up feeling much refreshed and set off early, hoping to reach Carlisle all the sooner. In some ways the day was easier than those that had gone before, being much flatter. However, it was also the hottest day of the trip so far and the last few miles into Carlisle were a struggle. On the way, we could see locals paddling in the river and I felt extremely jealous!
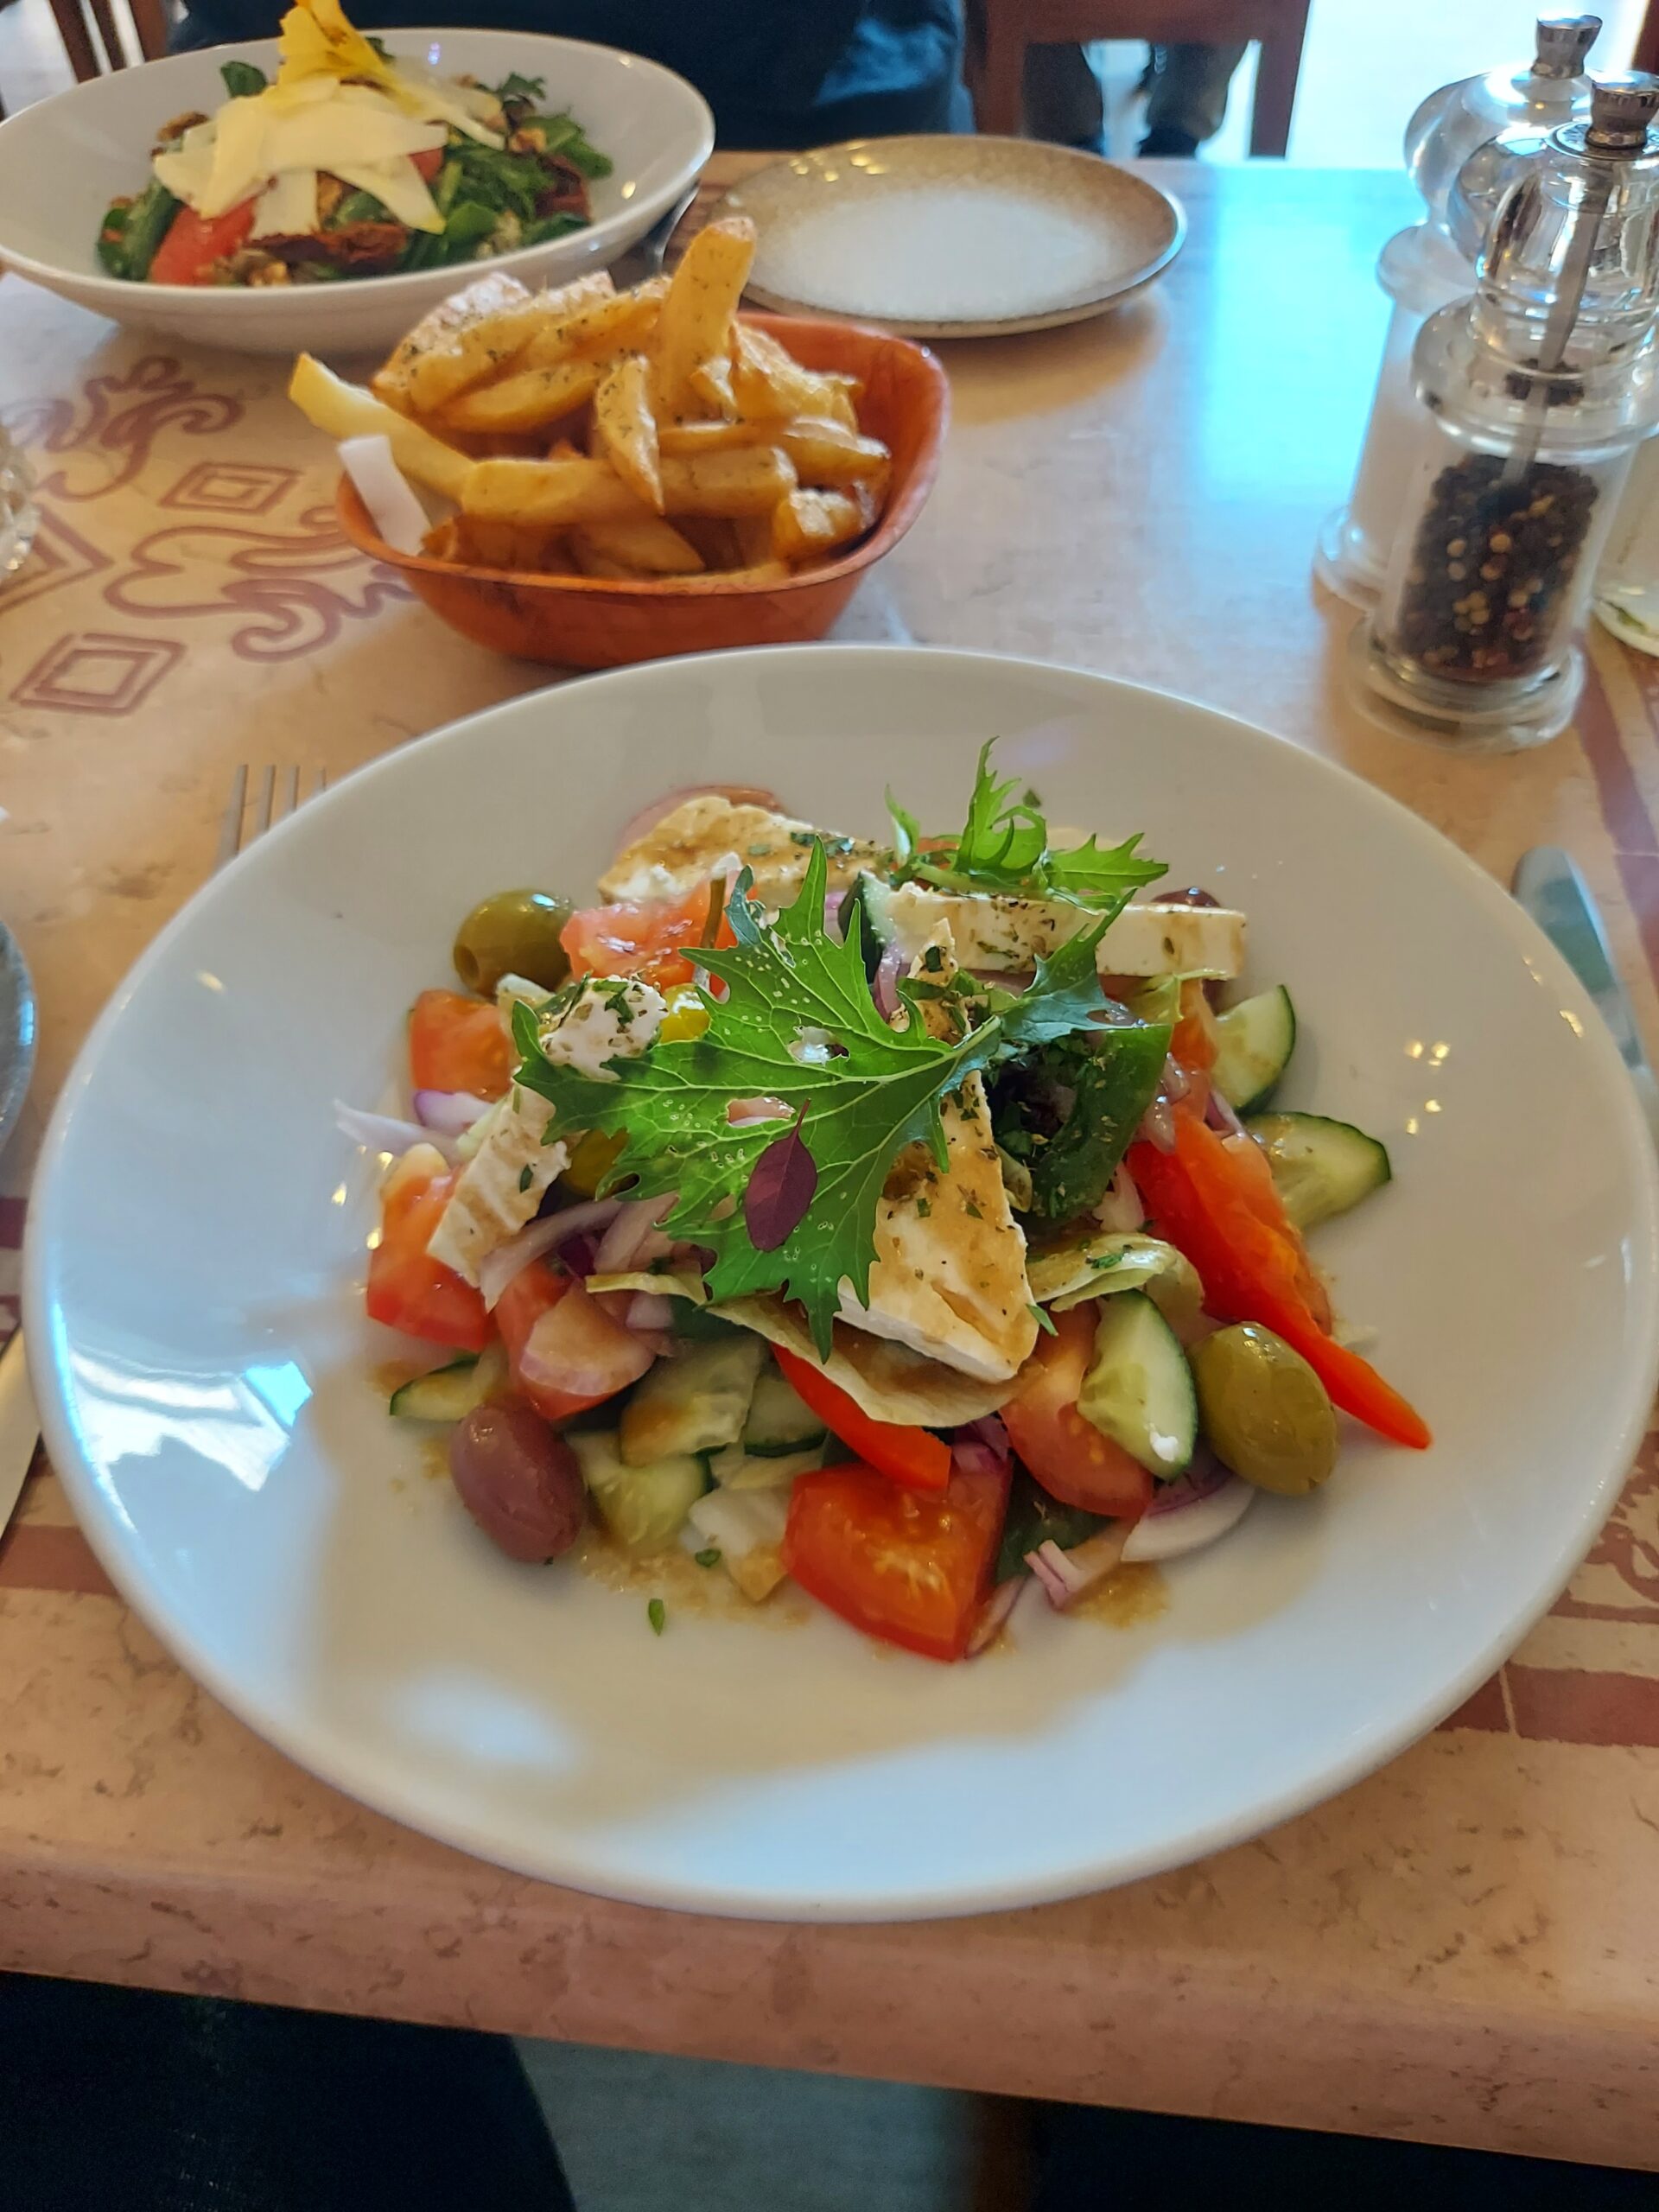
Finally, we arrived at Abberley House, where we were to stay the night. Later on we met Claire, a fellow Rebel who was going to walk the last part of the way with us, and we went out for a meal at Alexandros Greek Restaurant.
Day 4: Carlisle to Bowness-on-Solway, 13 miles
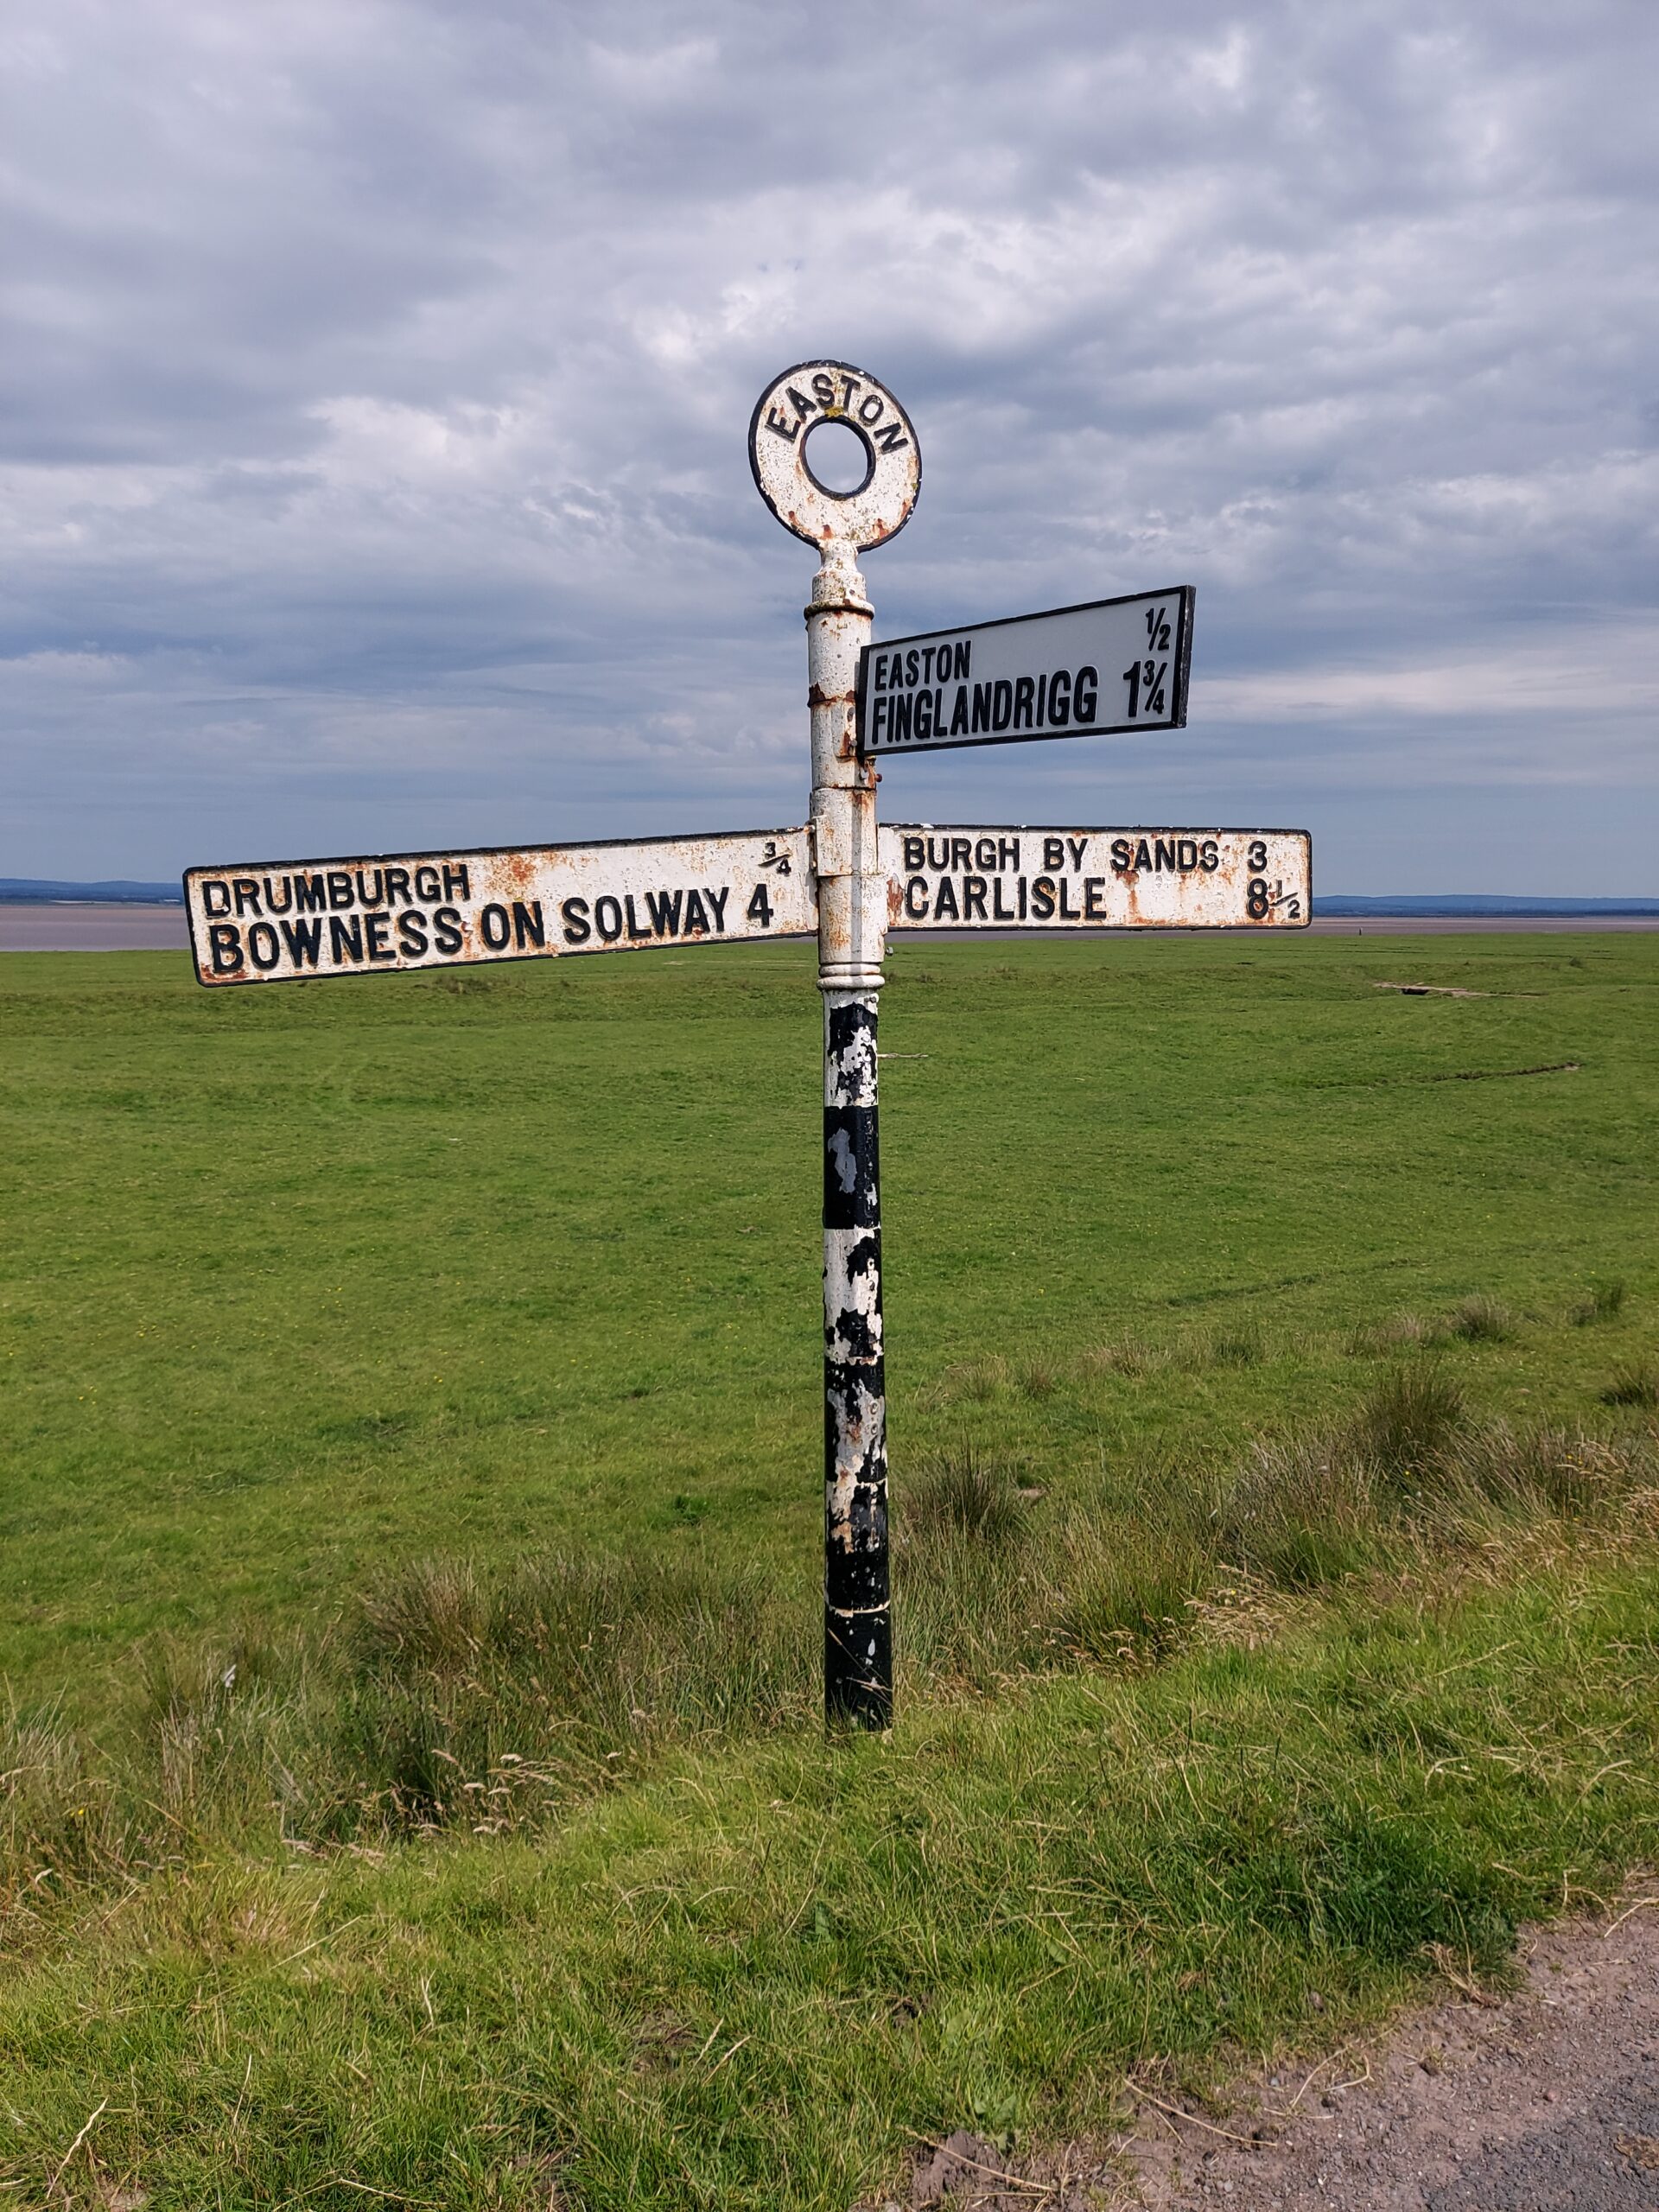
After breakfast, we headed out fairly early, once again hoping to beat the heat (a forlorn hope!). The first part of the walk was pleasant, on shady paths, but there was a long section where we were just walking on country roads with no shade in sight (to be honest, I think we went the wrong way). We had to make quite a few stops, but the walk improved when we got closer to the Solway estuary. We were amused by the cows, who appeared to be following another group of walkers, although we did wonder if we had somehow entered purgatory as we seemed to be walking for miles and miles without getting anywhere.
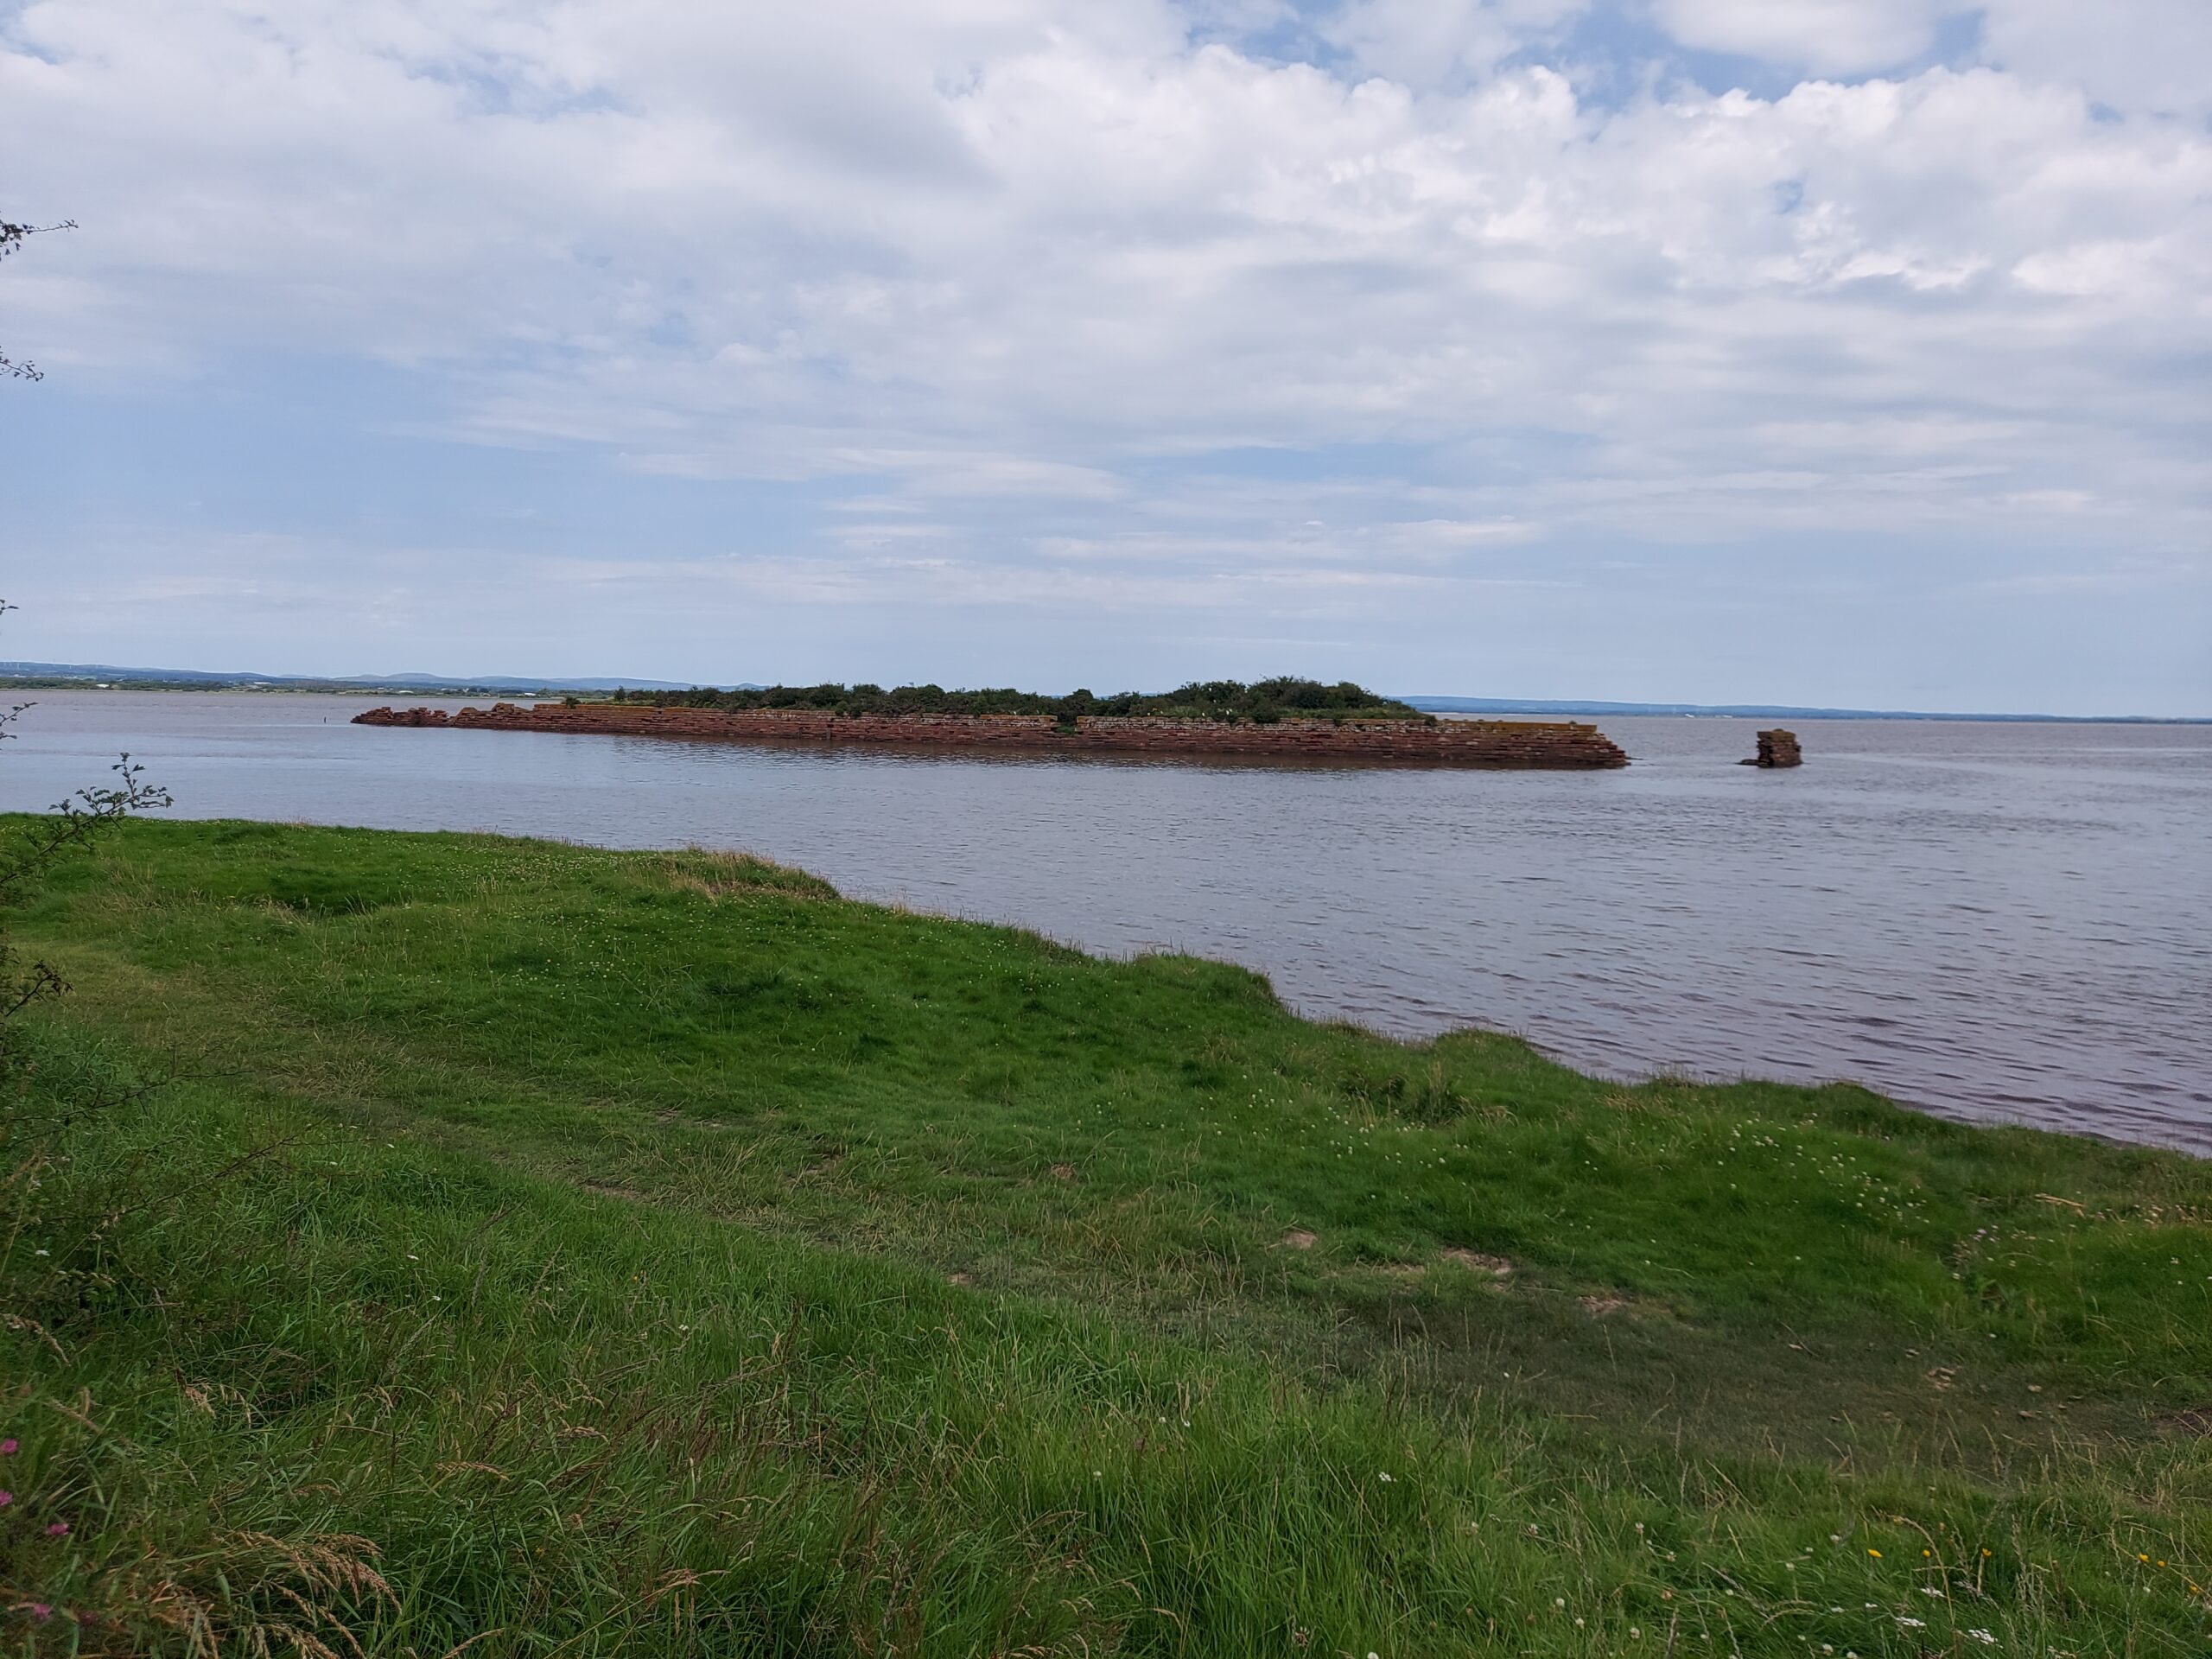
The last part of the walk followed the river round past the Port of Carlisle and into Bowness-on-Solway, where we were incredibly happy to arrive. We had a well-deserved celebratory drink in The King’s Arms before sharing a taxi back to Carlisle with a couple who’d also finished the walk.
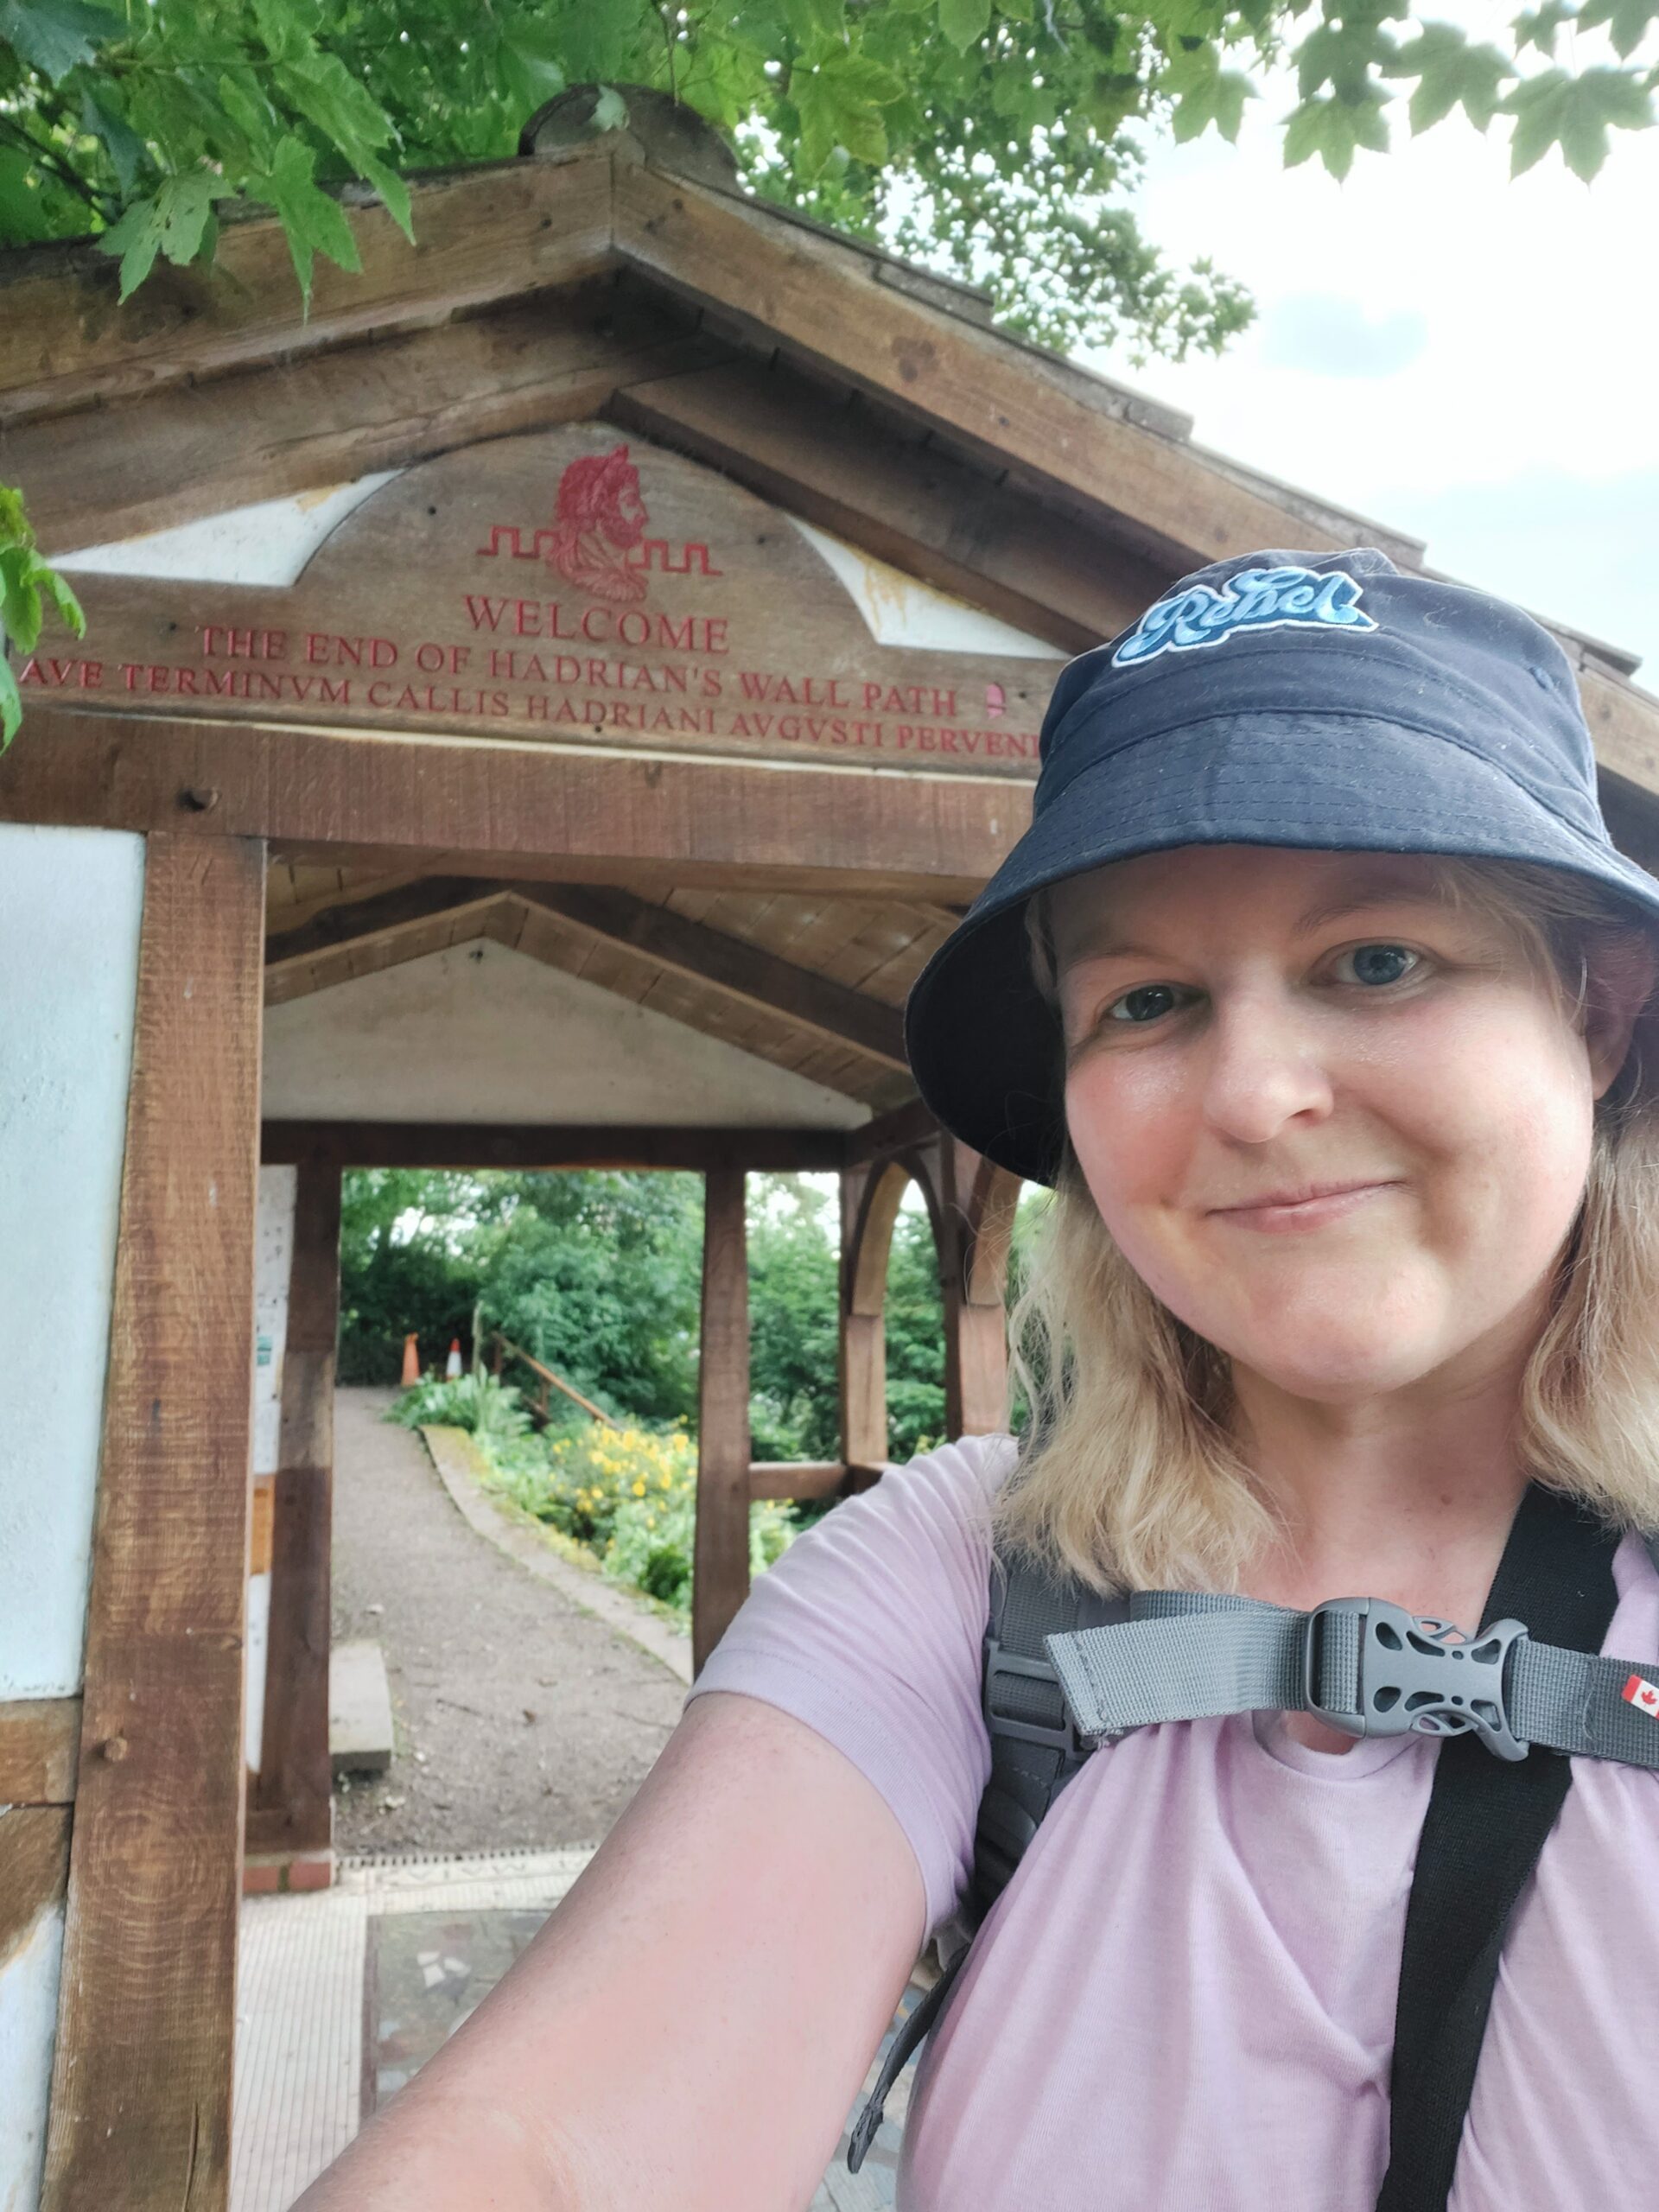
I feel so proud that I’ve been able to finish the Hadrian’s Wall walk and I will be ordering my certificate and badge asap! I would love to go back to specific places on or near the Wall that I didn’t have a chance to explore properly, but as for doing the walk again – not a chance.